
Googleが2025年8月に公開した画像生成AI「Gemini 2.5 Flash Image(Nano Banana)」は、入力した画像の特徴を維持しながら編集することが得意で、無料ユーザーでも1日100枚まで画像を生成することが可能です。そんなNano Bananaで使えるプロンプトとその実例をまとめたGitHubのページが有志によって公開されていたので、いくつかピックアップしてみました。
Awesome-Nano-Banana-images/README_en.md at main · PicoTrex/Awesome-Nano-Banana-images · GitHub
https://github.com/PicoTrex/Awesome-Nano-Banana-images/blob/main/README_en.md
・目次
◆1:イラストをフィギュア化
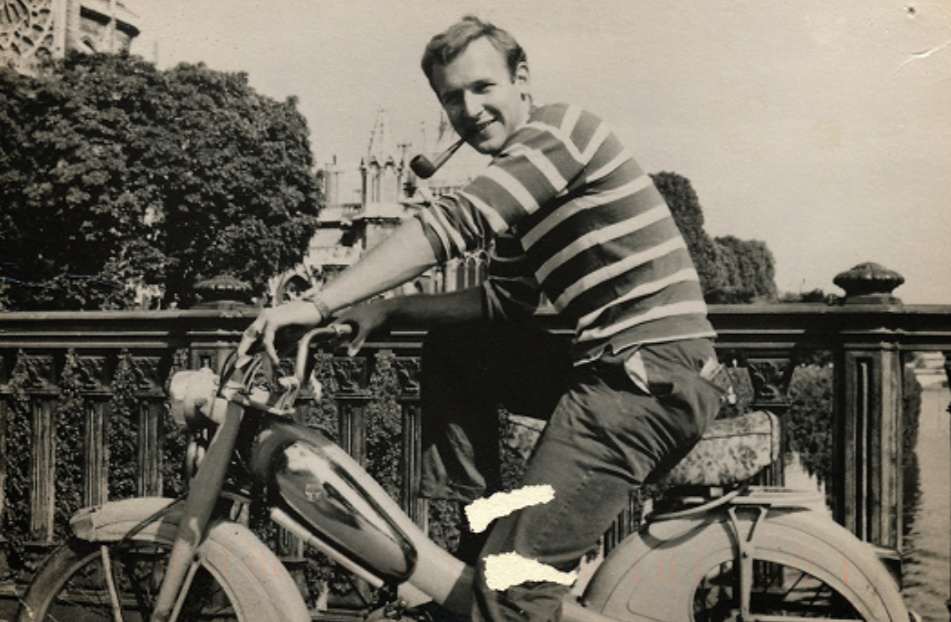
◆2:異なる時代の自分の写真
◆3:クロスビュー画像の生成
◆4:カラーパレットを使った線画の着色
◆5:古い写真のカラー化
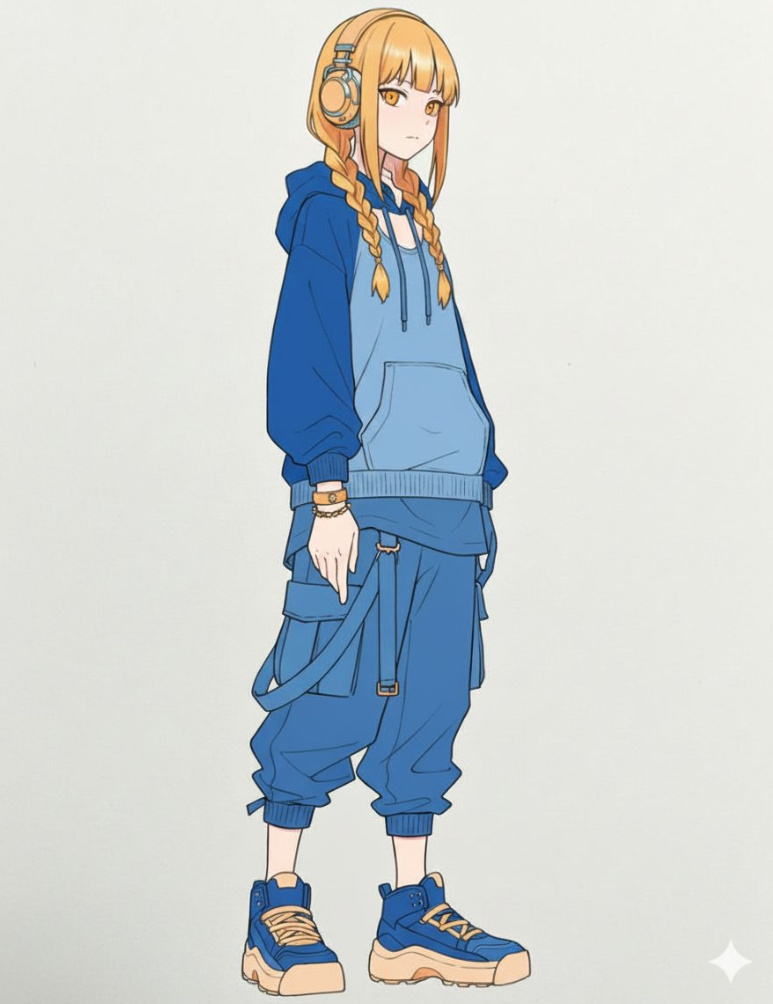
◆6:指定のコーディネートに着替えさせる
◆7:キャラクターのポーズ変更
◆8:線画からポーズを指定する
◆9:地図から立体的な建物のイラストへ
◆10:メイクの分析
◆11:複数のキャラクターポーズ生成
◆12:照明制御
◆13:被写体を抽出して透明なレイヤーに配置
◆14:アニメの巨大フィギュアを東京のど真ん中に置く
◆15:マンガスタイルへの変換
◆16:証明写真の作成
◆1:イラストをフィギュア化
入力例
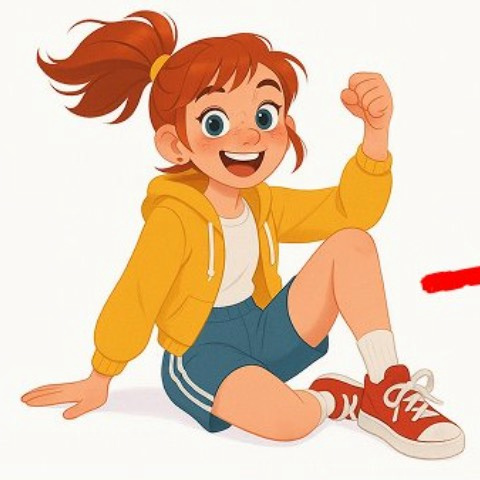
出力例
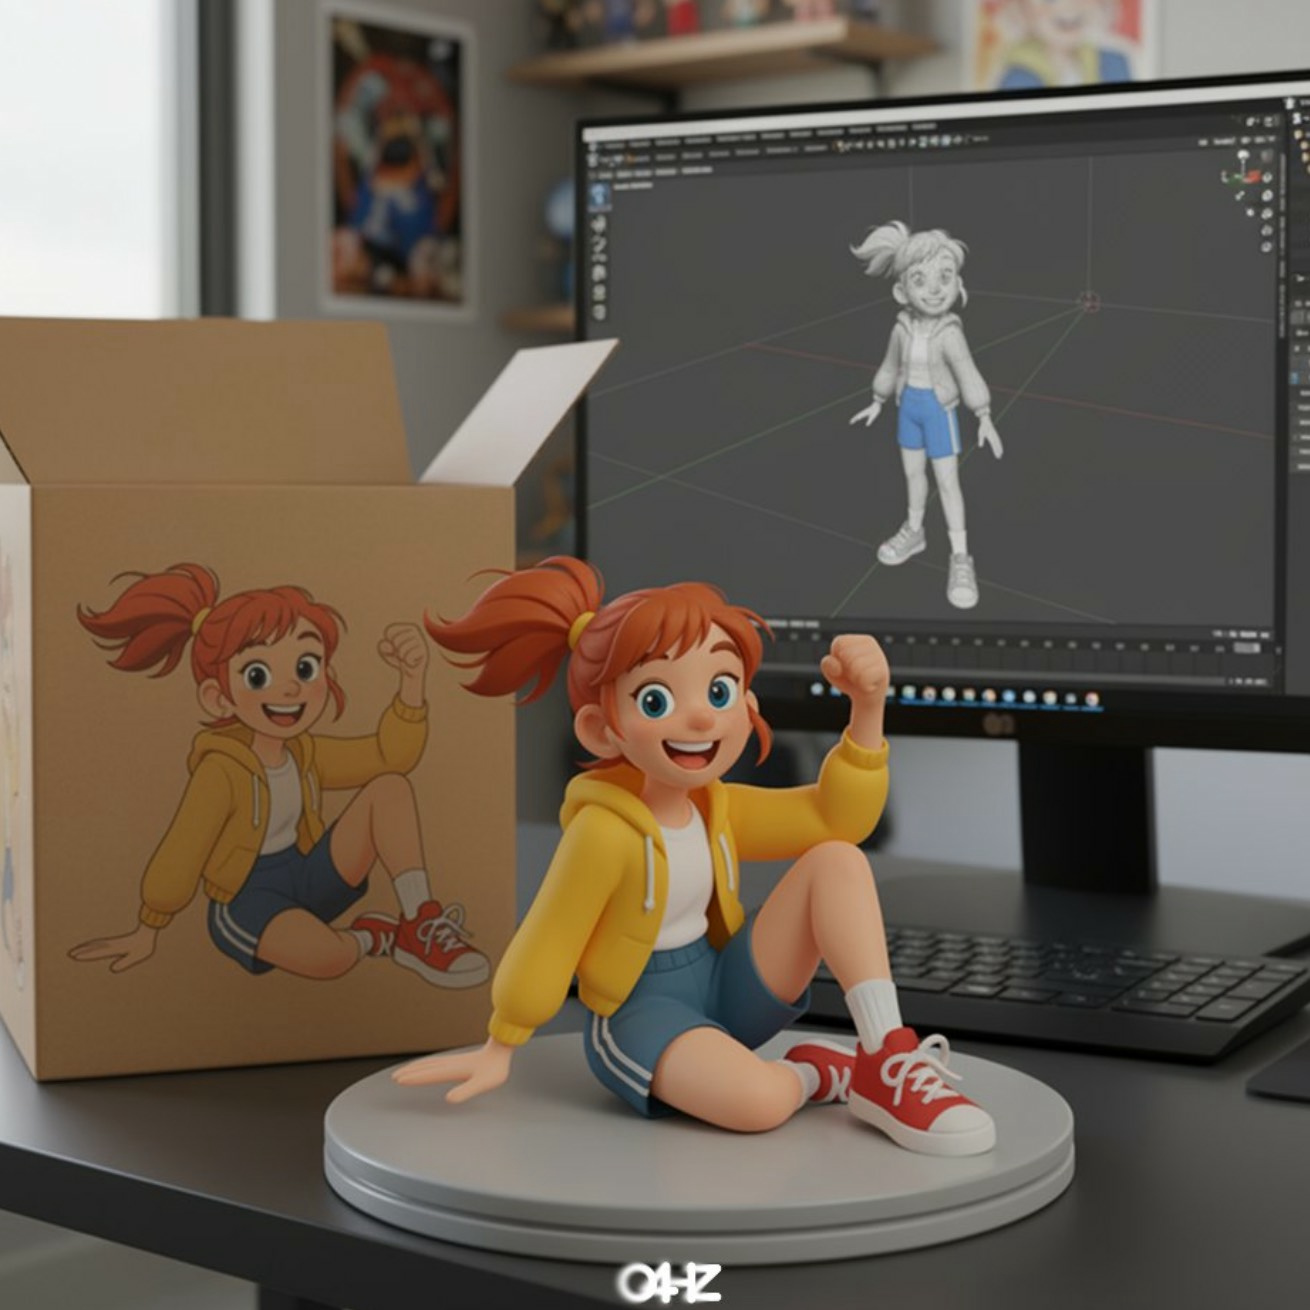
プロンプト
turn this photo into a character figure. Behind it, place a box with the character's image printed on it, and a computer showing the Blender modeling process on its screen. In front of the box, add a round plastic base with the character figure standing on it. set the scene indoors if possible
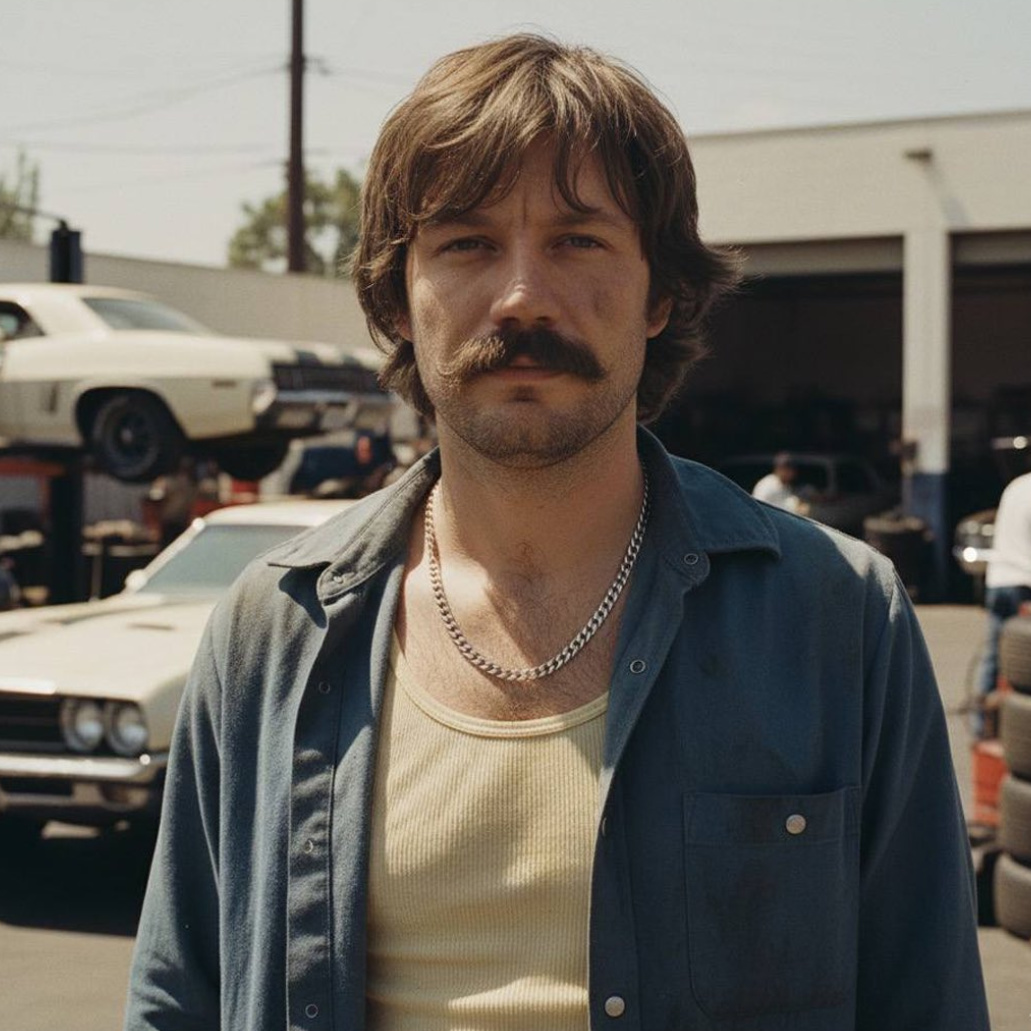
◆2:異なる時代の自分の写真
入力例
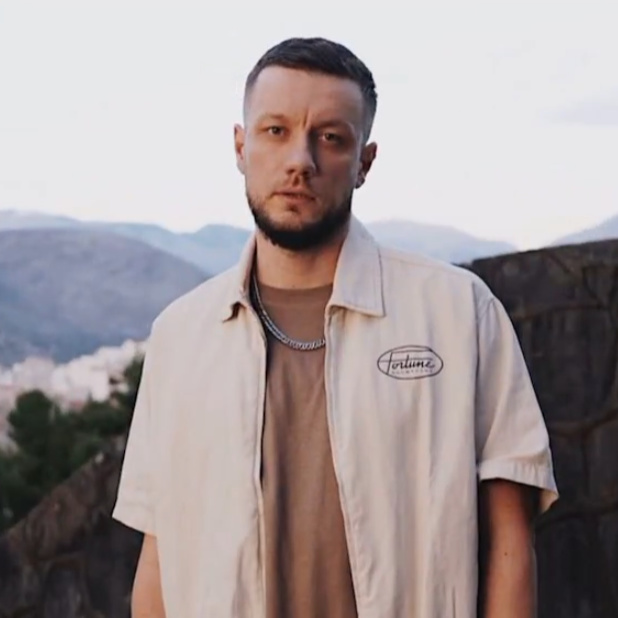
出力例
プロンプト
Change the characer's style to [1970]'s classical [male] style Add [long curly] hair, [long mustache], change the background to the iconic [californian summer landscape] Don't change the character's face
注記:[角括弧]内のテキストを、希望する時代や詳細情報に変更してください。
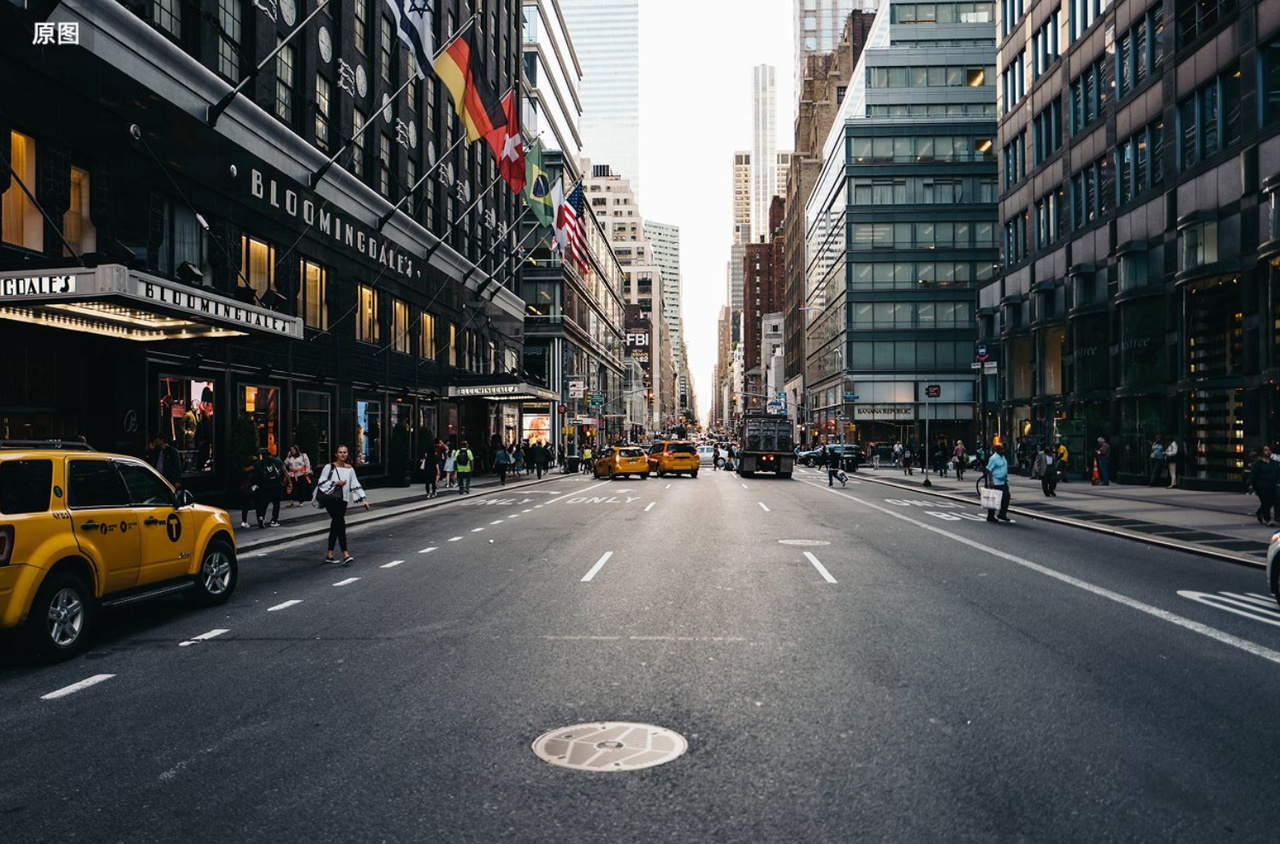
◆3:クロスビュー画像の生成
入力例
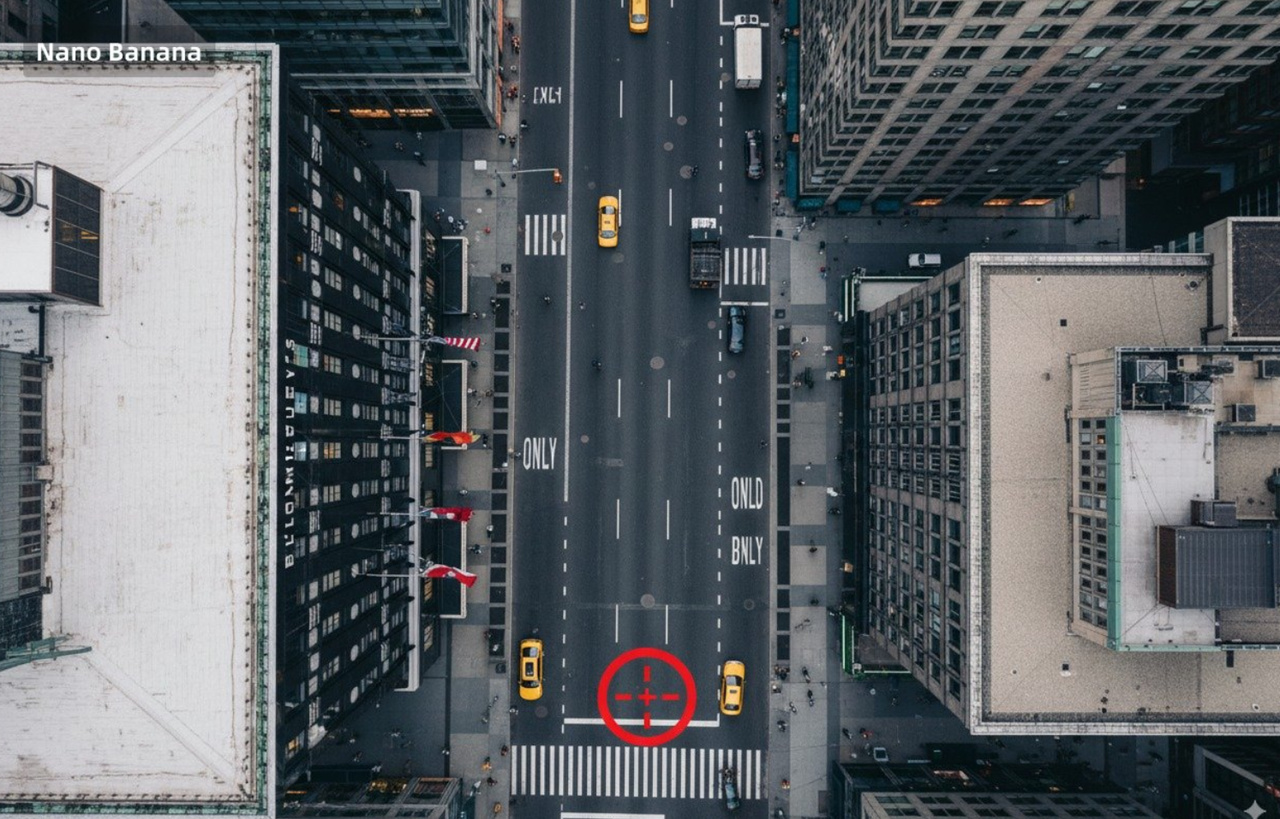
出力例
プロンプト
Convert the photo to a top-down view and mark the location of the photographer.
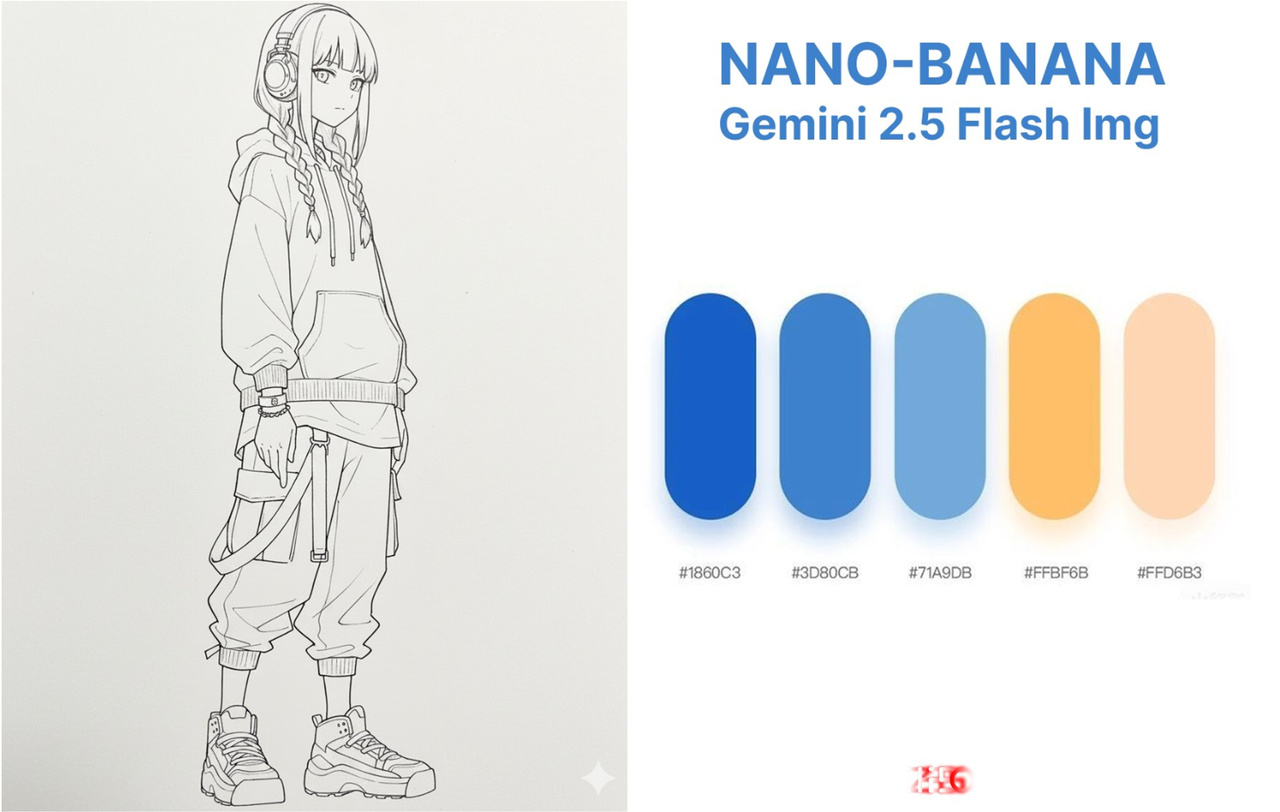
◆4:カラーパレットを使った線画の着色
入力例
出力例
プロンプト
Accurately use the color palette from Figure 2 to color the character in Figure 1
◆5:古い写真のカラー化
入力例
出力例
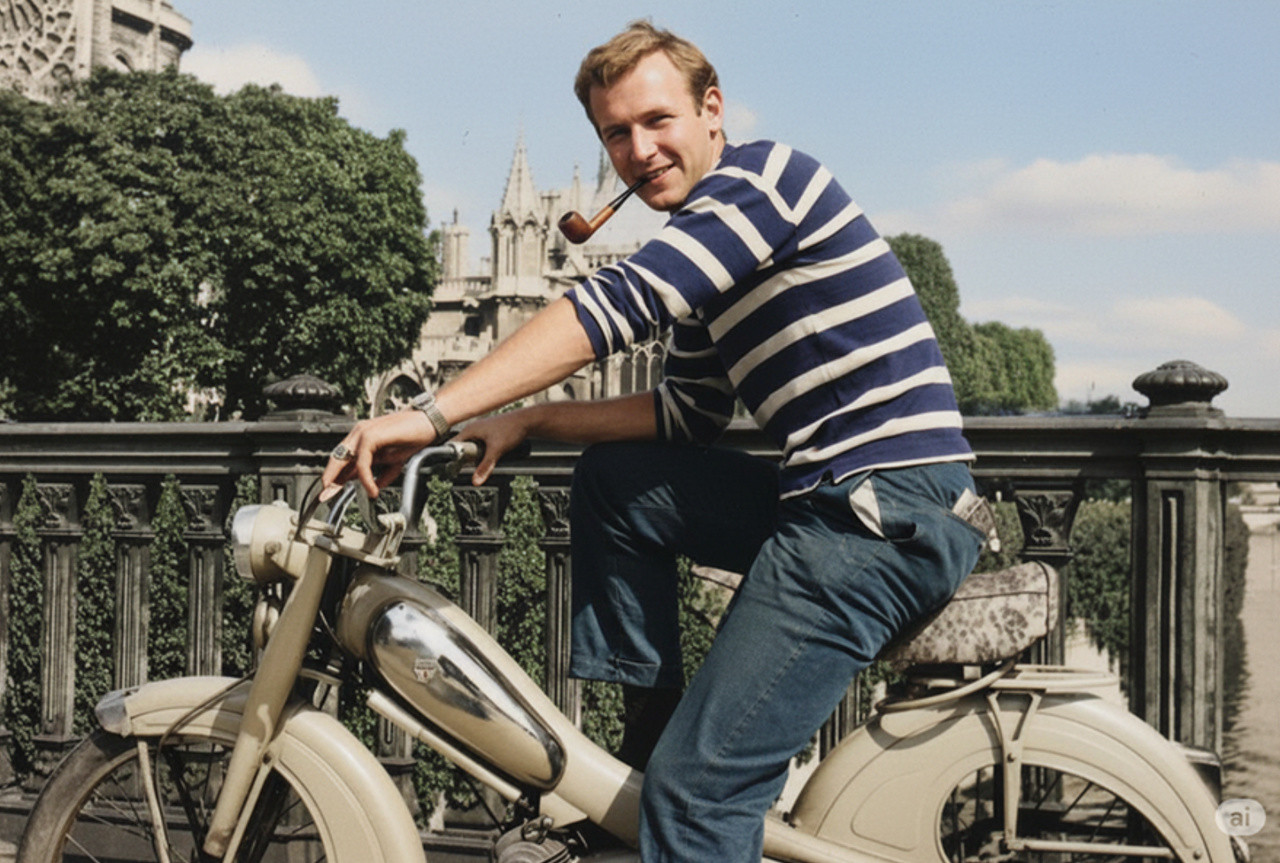
プロンプト
restore and colorize this photo.
◆6:指定のコーディネートに着替えさせる
入力例

出力例
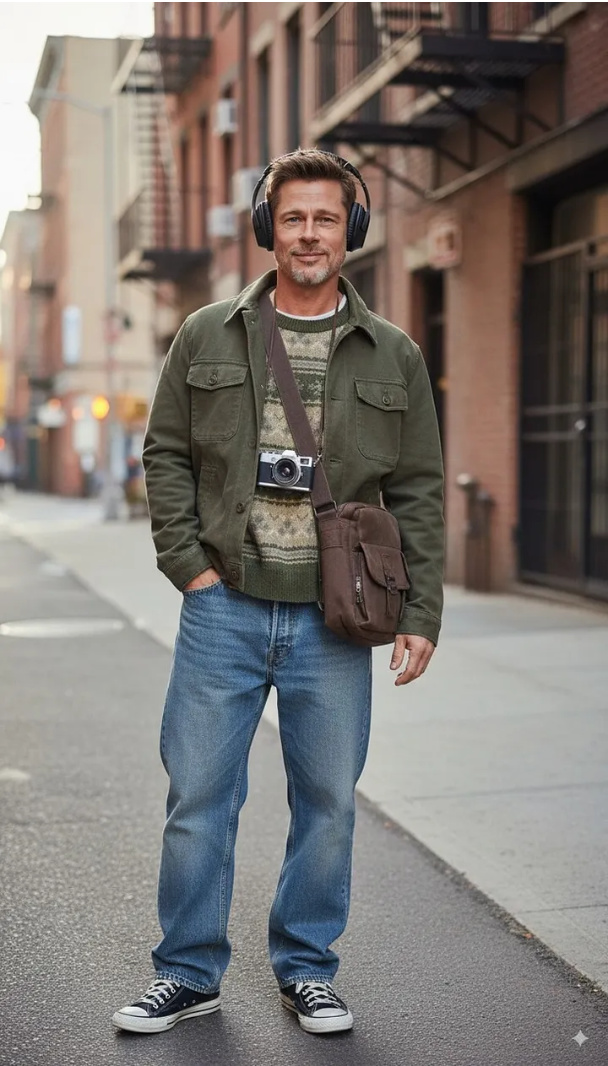
プロンプト
Choose the person in Image 1 and dress them in all the clothing and accessories from Image 2. Shoot a series of realistic OOTD-style photos outdoors, using natural lighting, a stylish street style, and clear full-body shots. Keep the person's identity and pose from Image 1, but show the complete outfit and accessories from Image 2 in a cohesive, stylish way.
◆7:キャラクターのポーズ変更
入力例
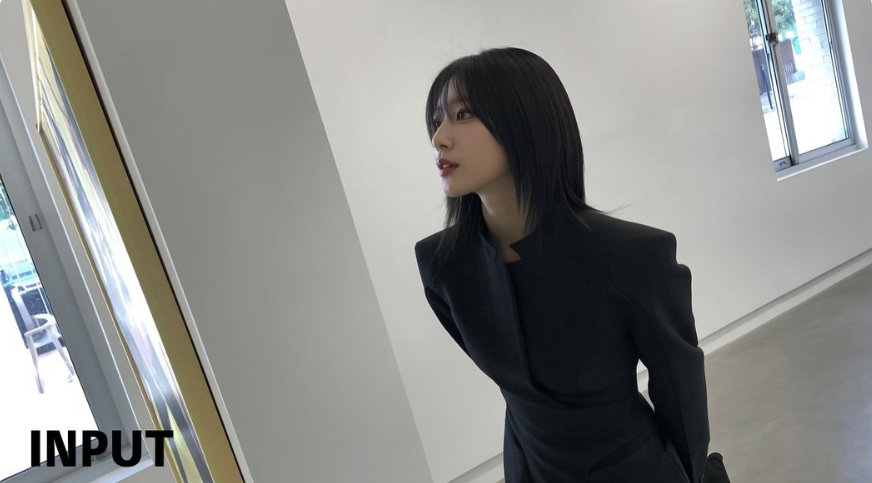
出力例
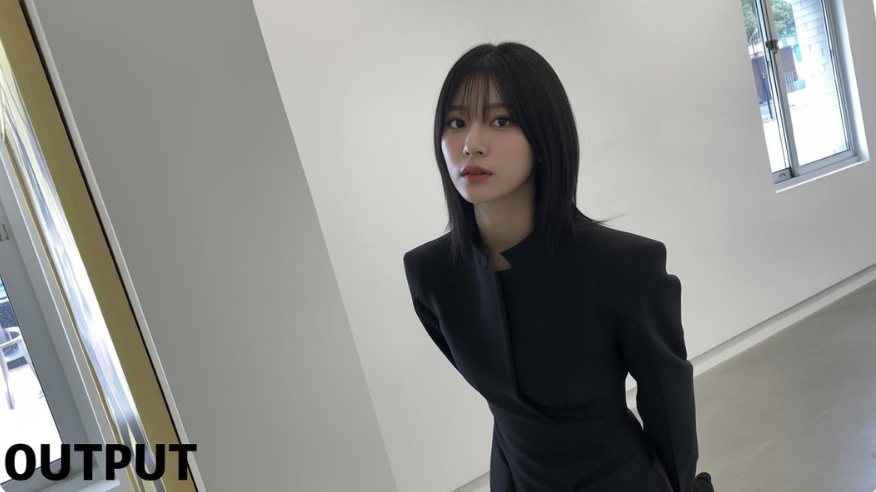
プロンプト
Have the person in the picture look straight ahead
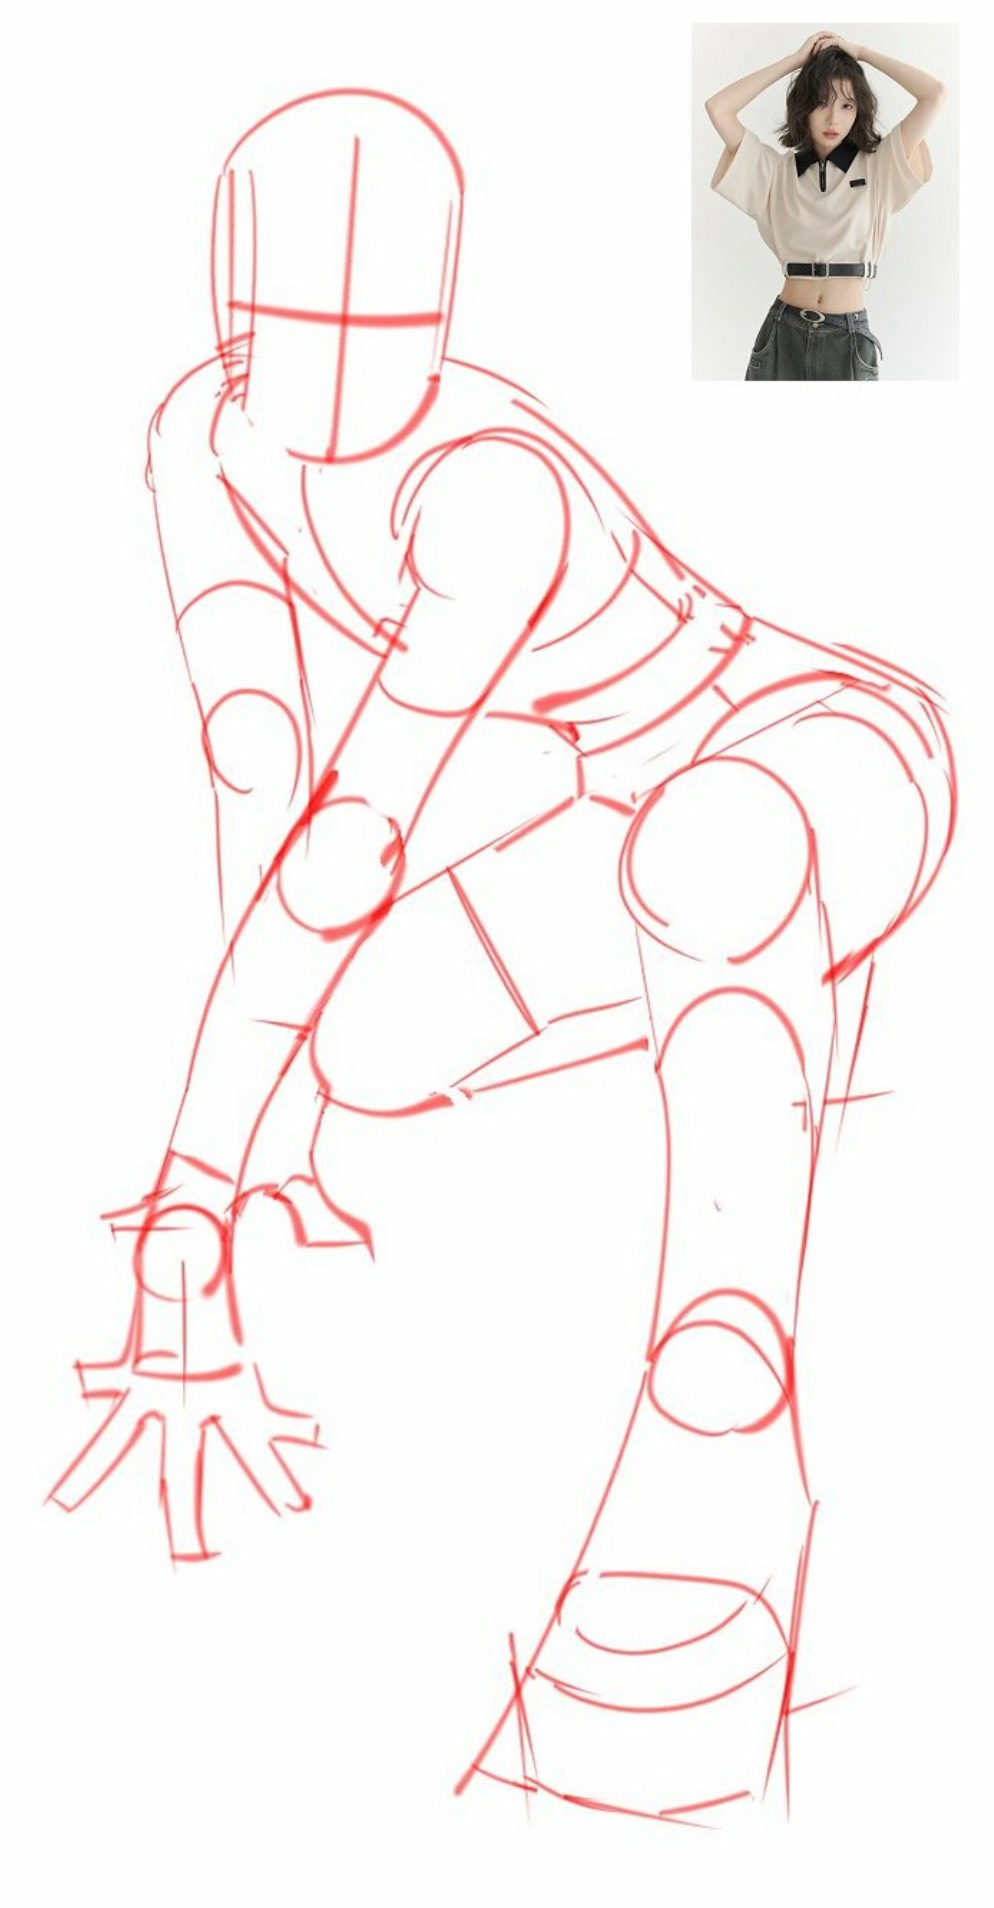
◆8:線画からポーズを指定する
入力例
出力例
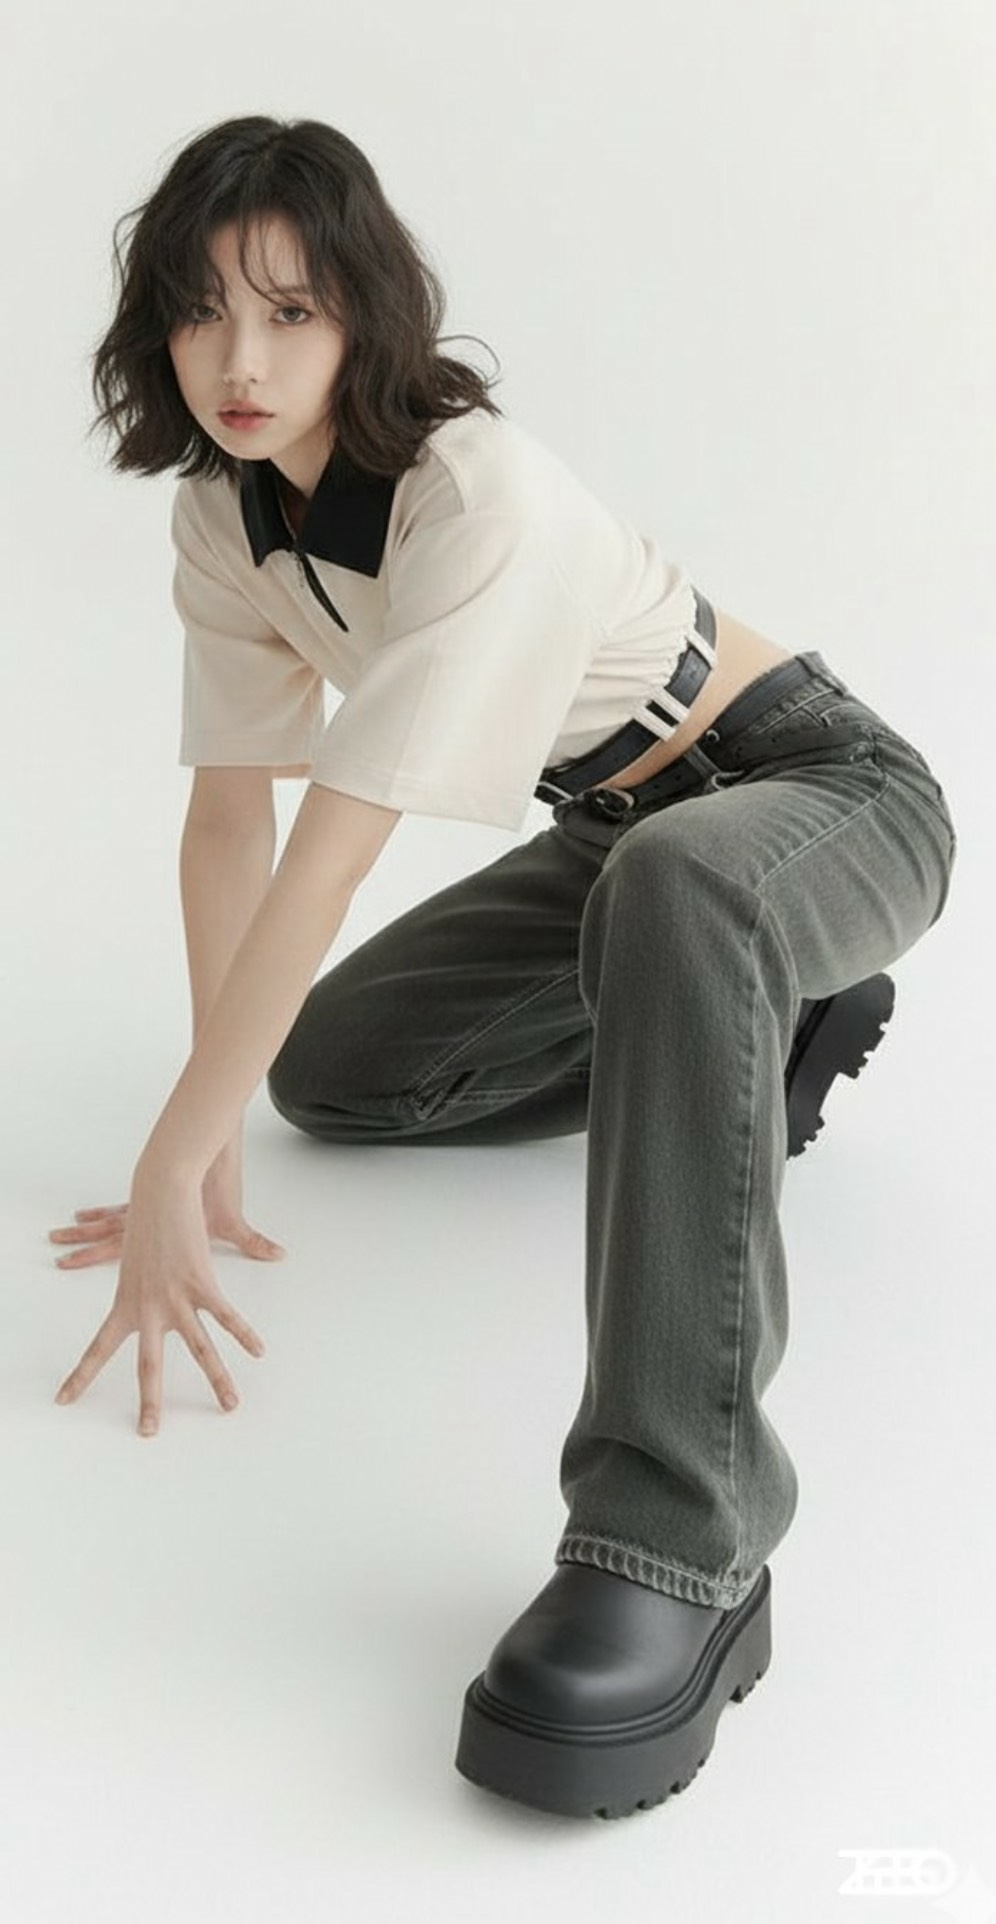
プロンプト
Change the pose of the person in Figure 1 to that of Figure 2, and shoot in a professional studio
注記:線画と参考画像をアップロードする必要があります。
◆9:地図から立体的な建物のイラストへ
入力例
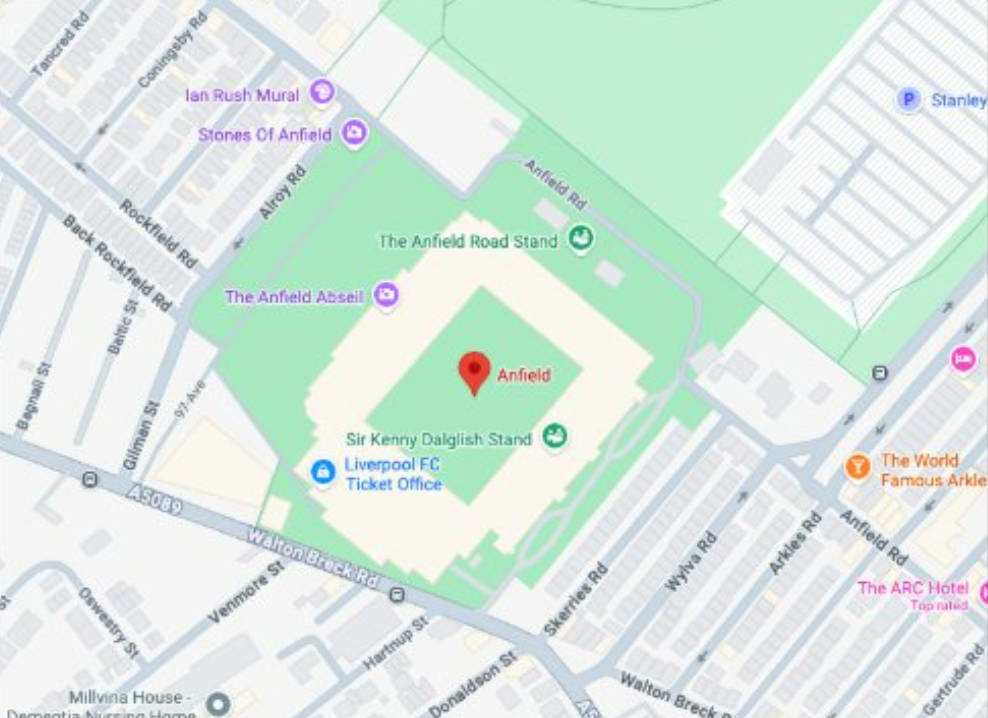
出力例
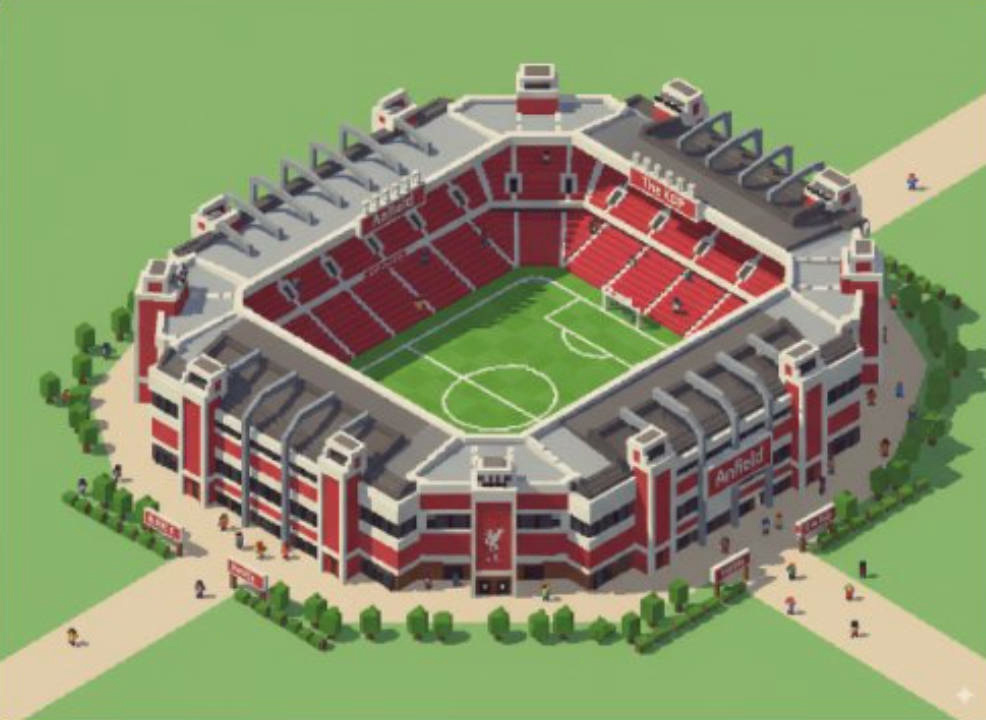
プロンプト
Take this location and make the landmark an isometric image (building only), in the stvle of the game Theme Park
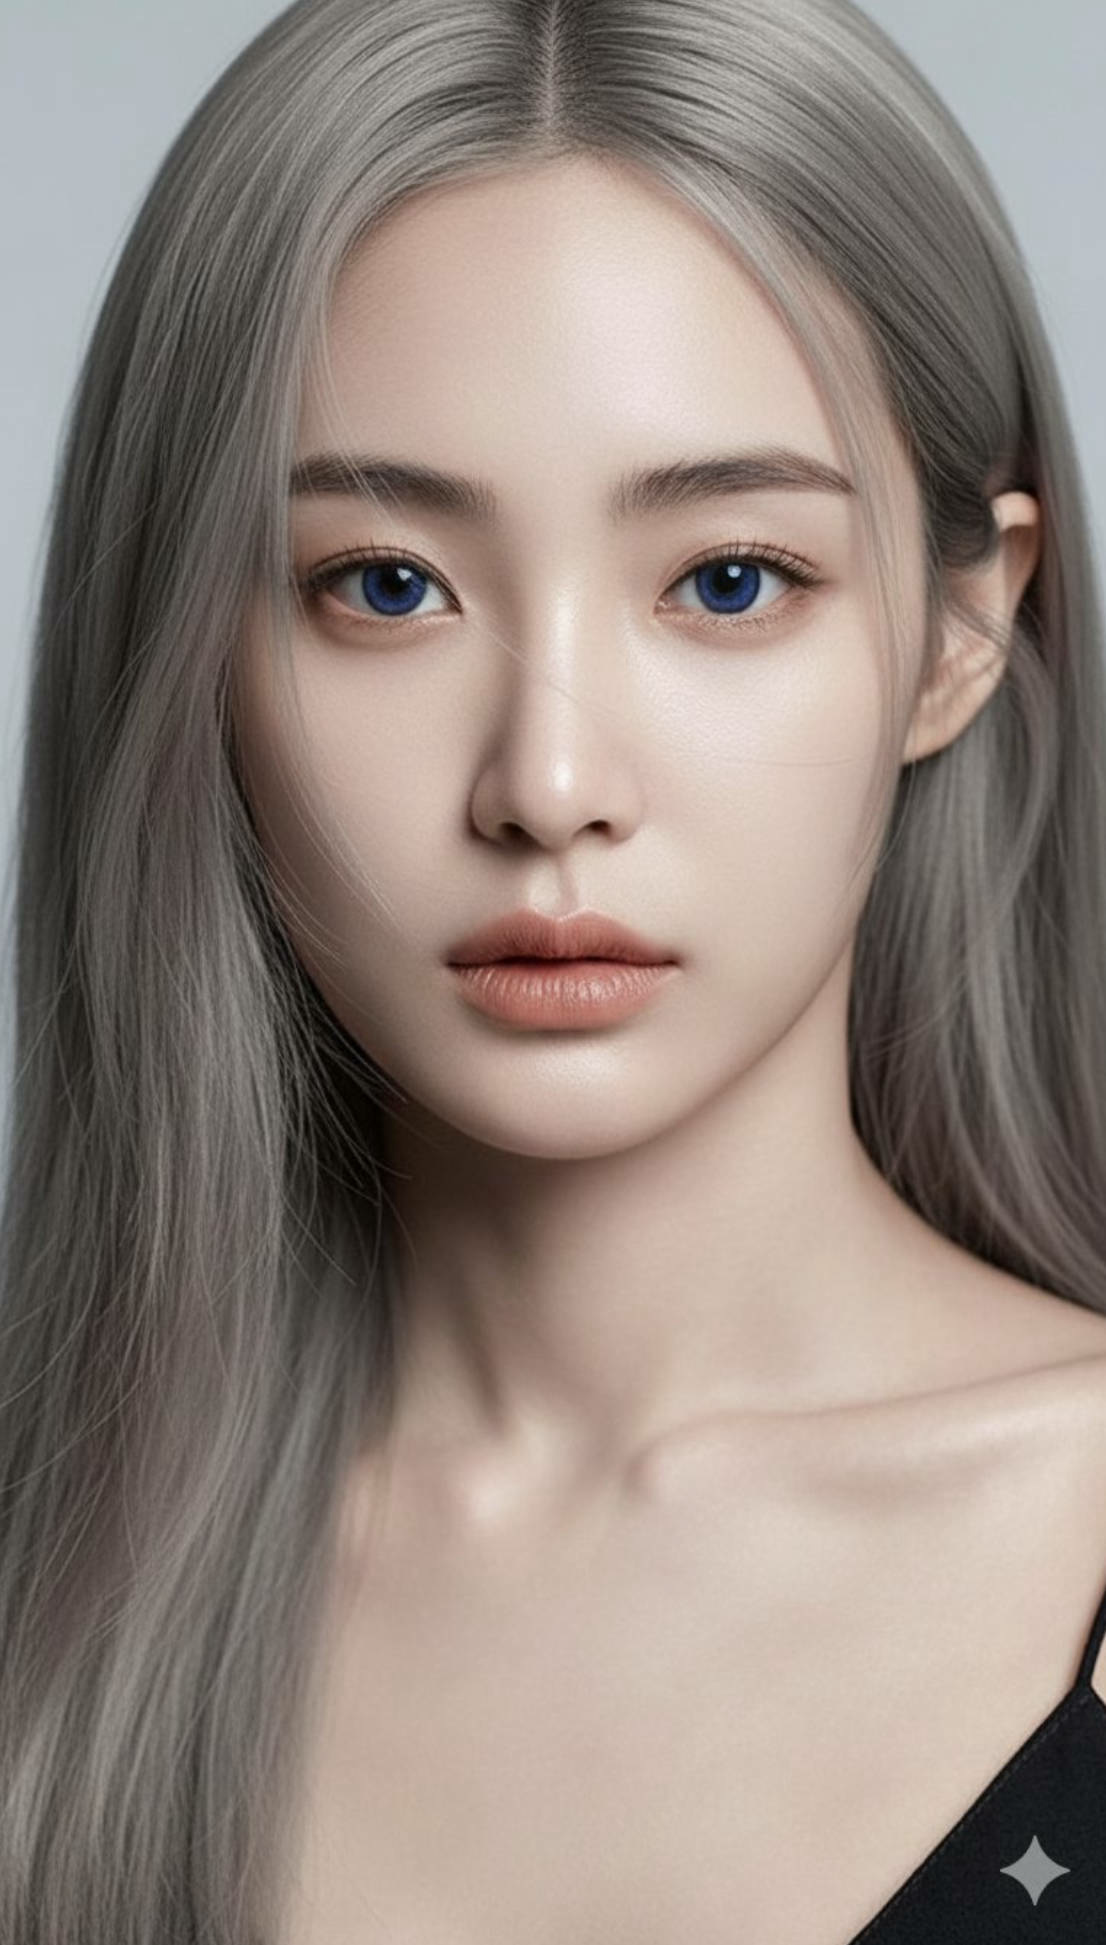
◆10:メイクの分析
入力例
出力例
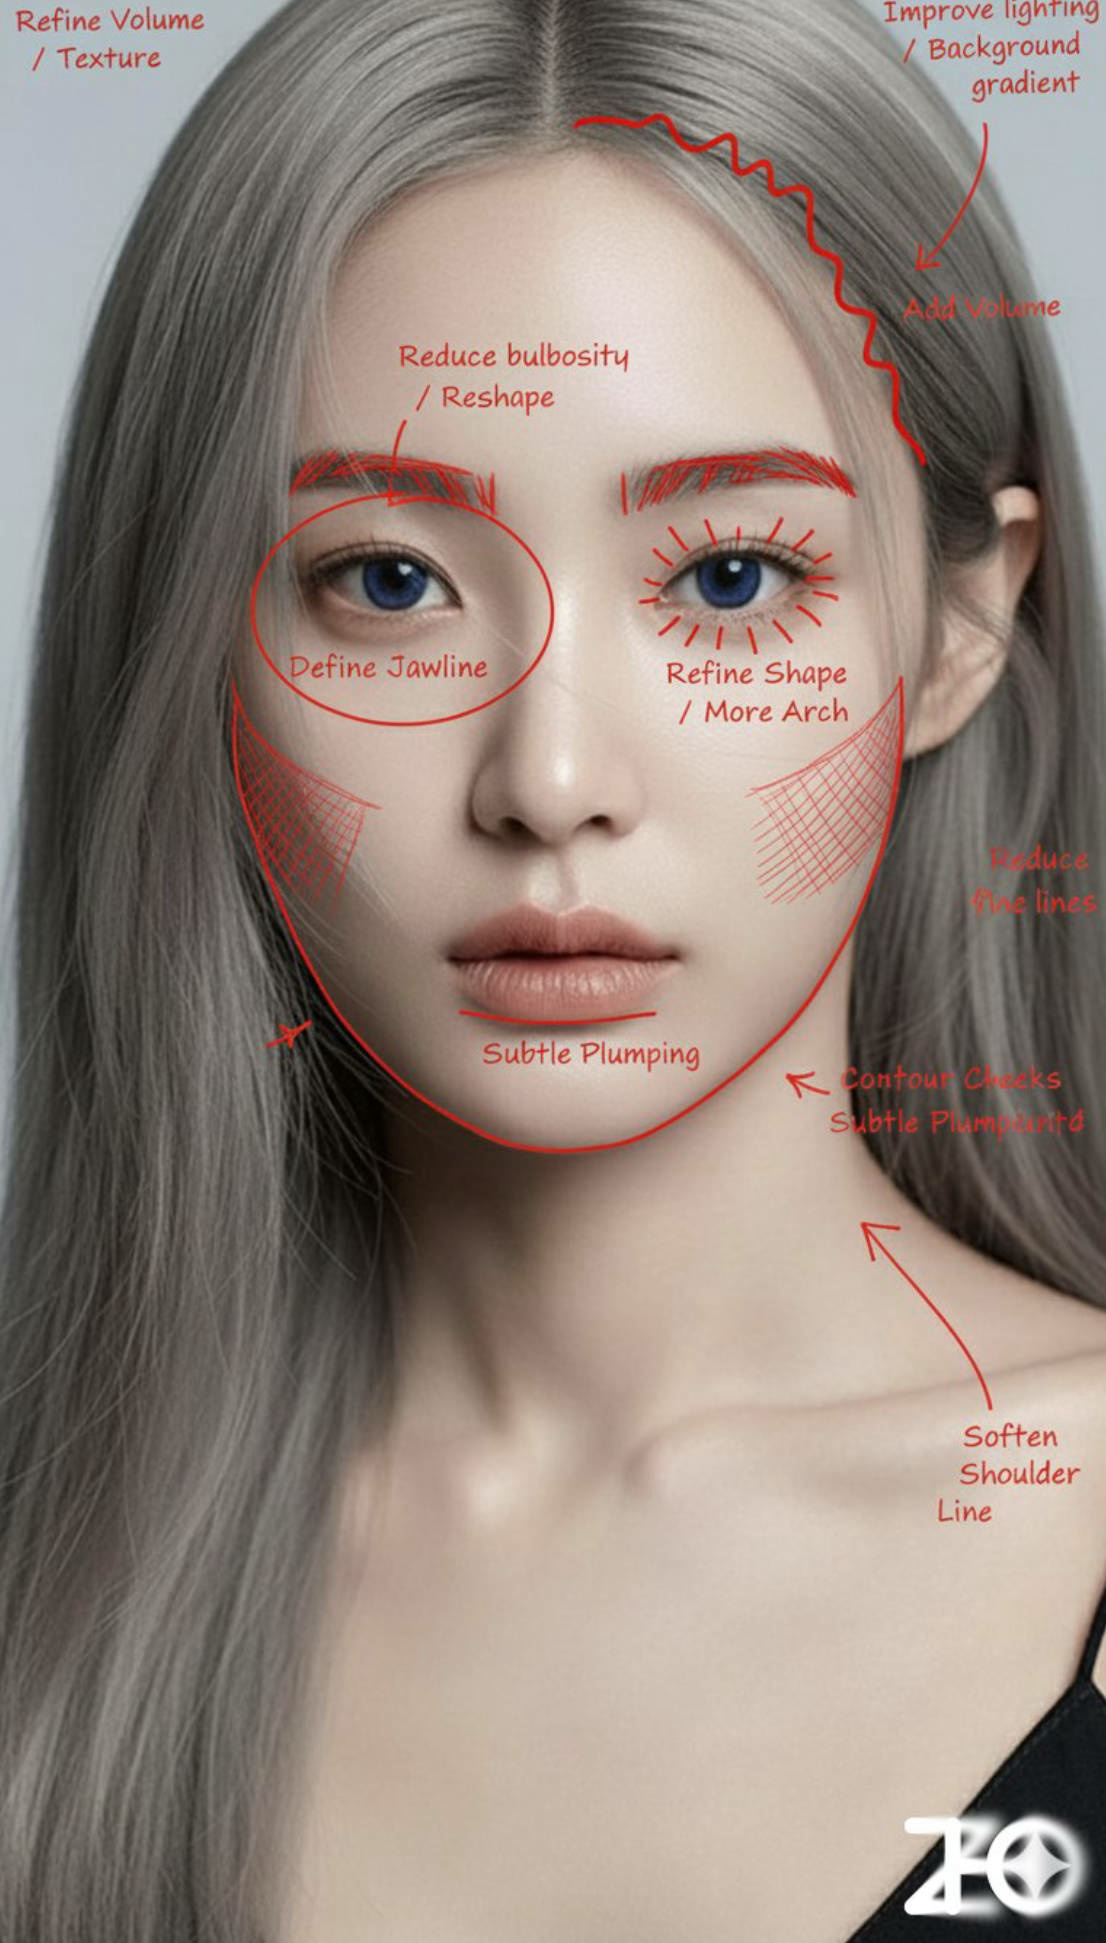
プロンプト
Analyze this image. Use a red pen to mark areas that can be improved Analyze this image. Use a red pen to denote where you can improve
◆11:複数のキャラクターポーズ生成
入力と出力例
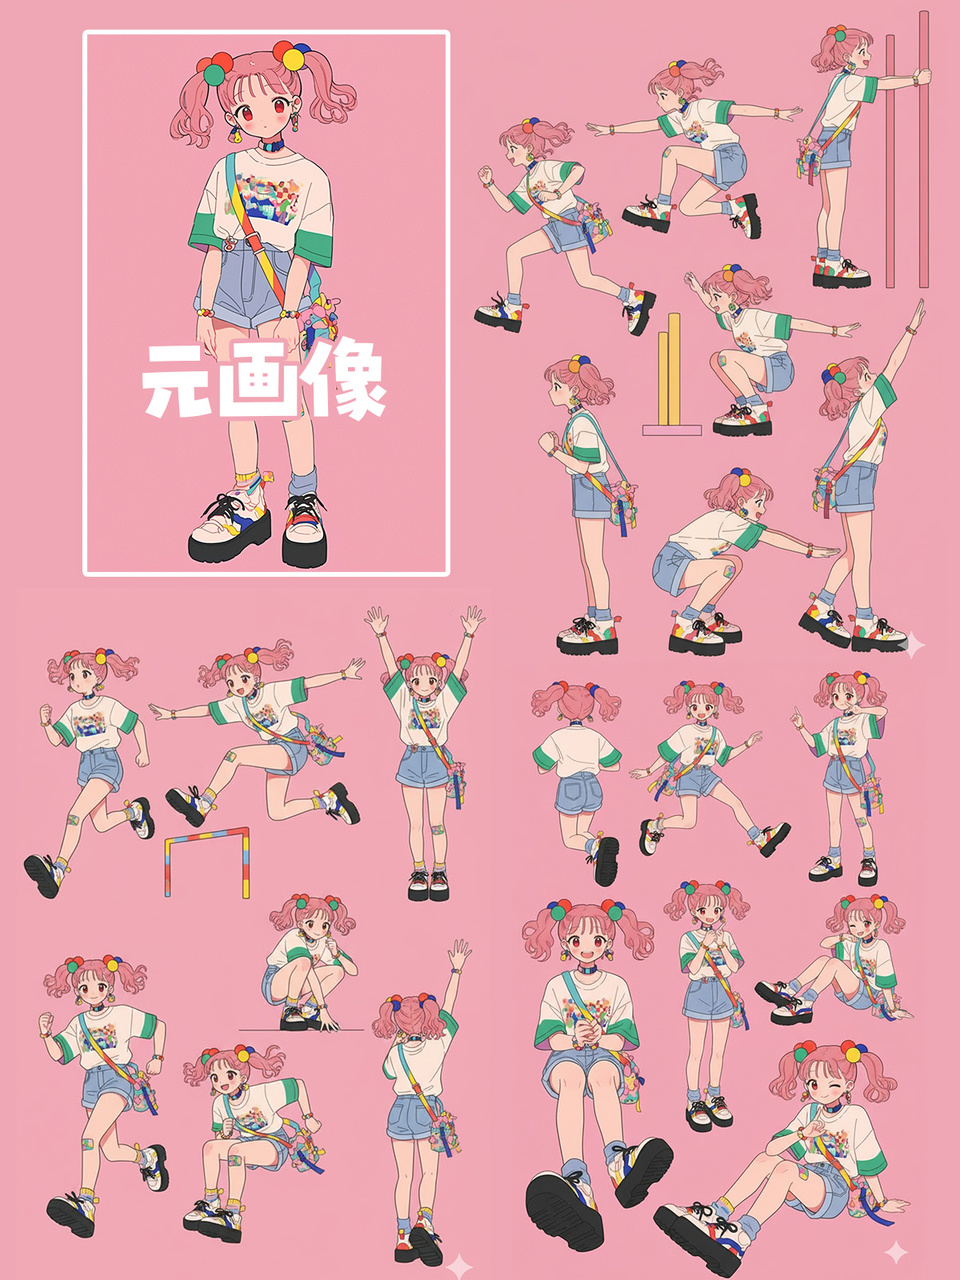
プロンプト
Please create a pose sheet for this illustration, making various poses!
◆12:照明制御
入力と出力例
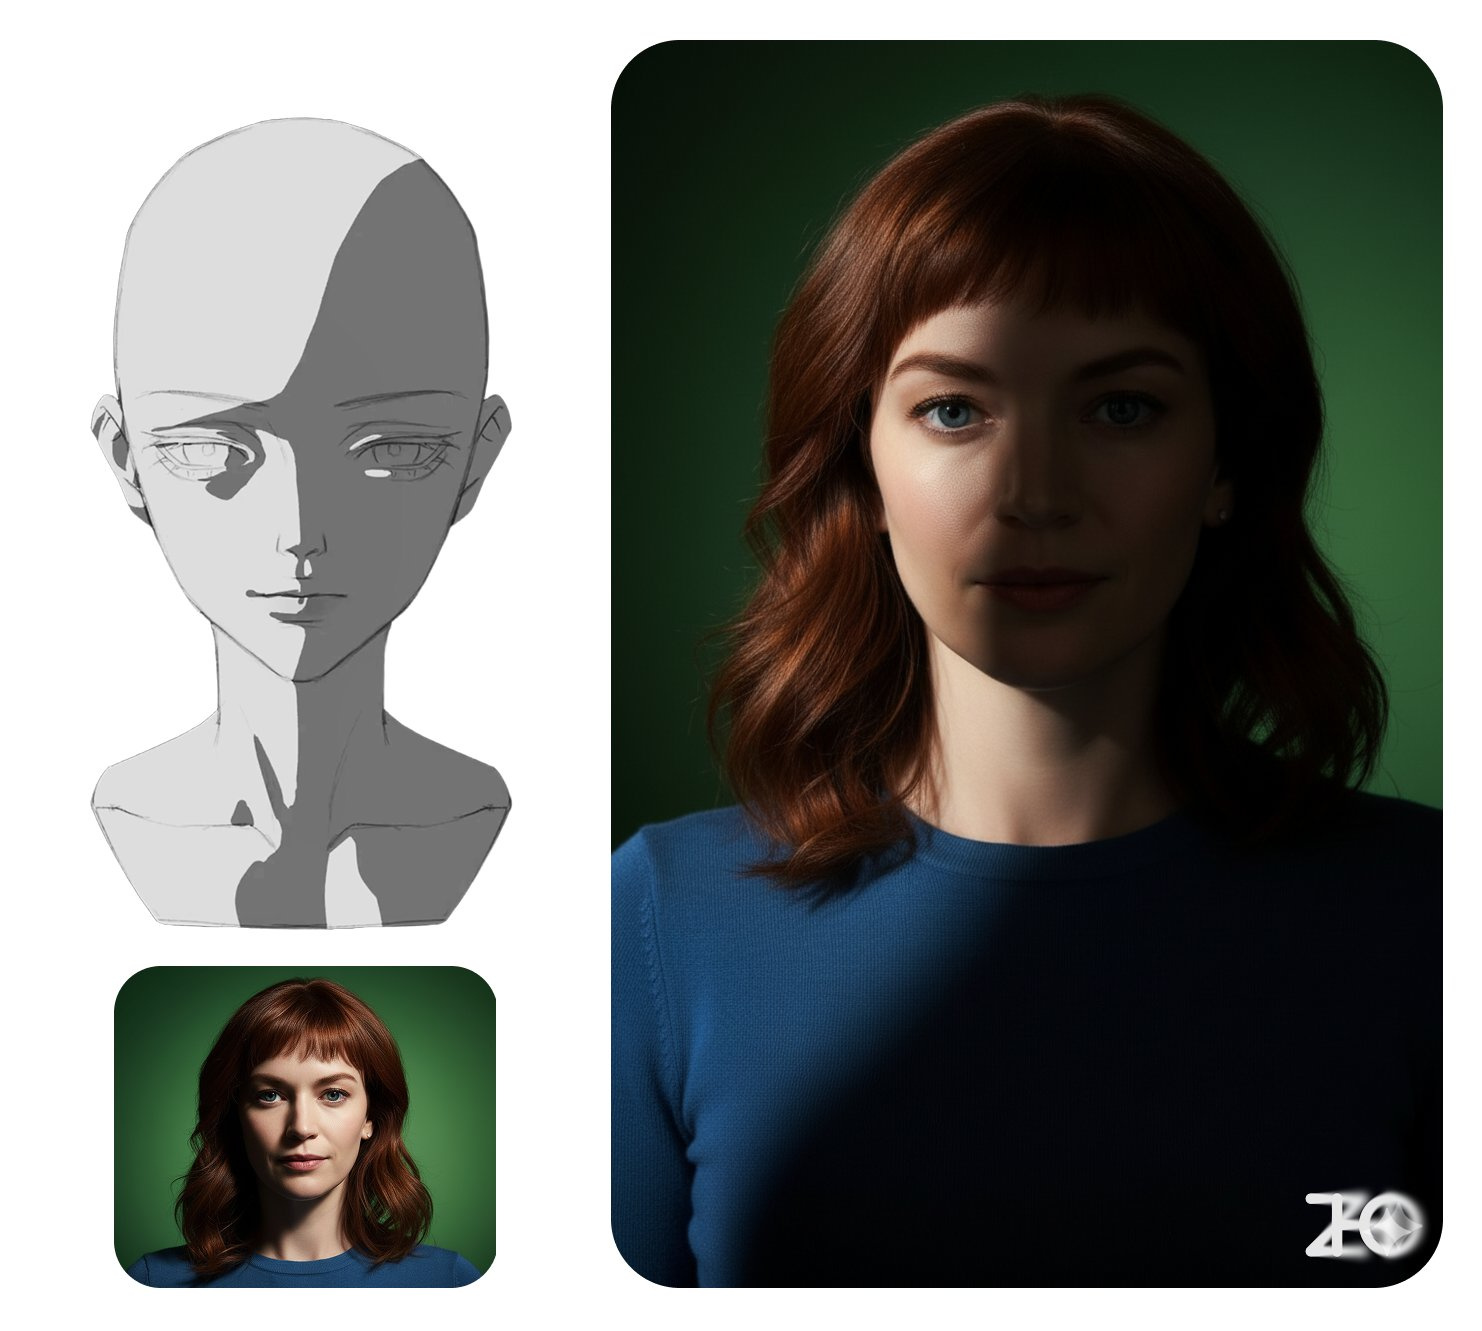
プロンプト
Change the character from Image 1 to the lighting from Image 2, with dark areas as shadows
注記:入力では画像と同時に照明の参考画像をアップロードする必要があります。
◆13:被写体を抽出して透明なレイヤーに配置
入力例
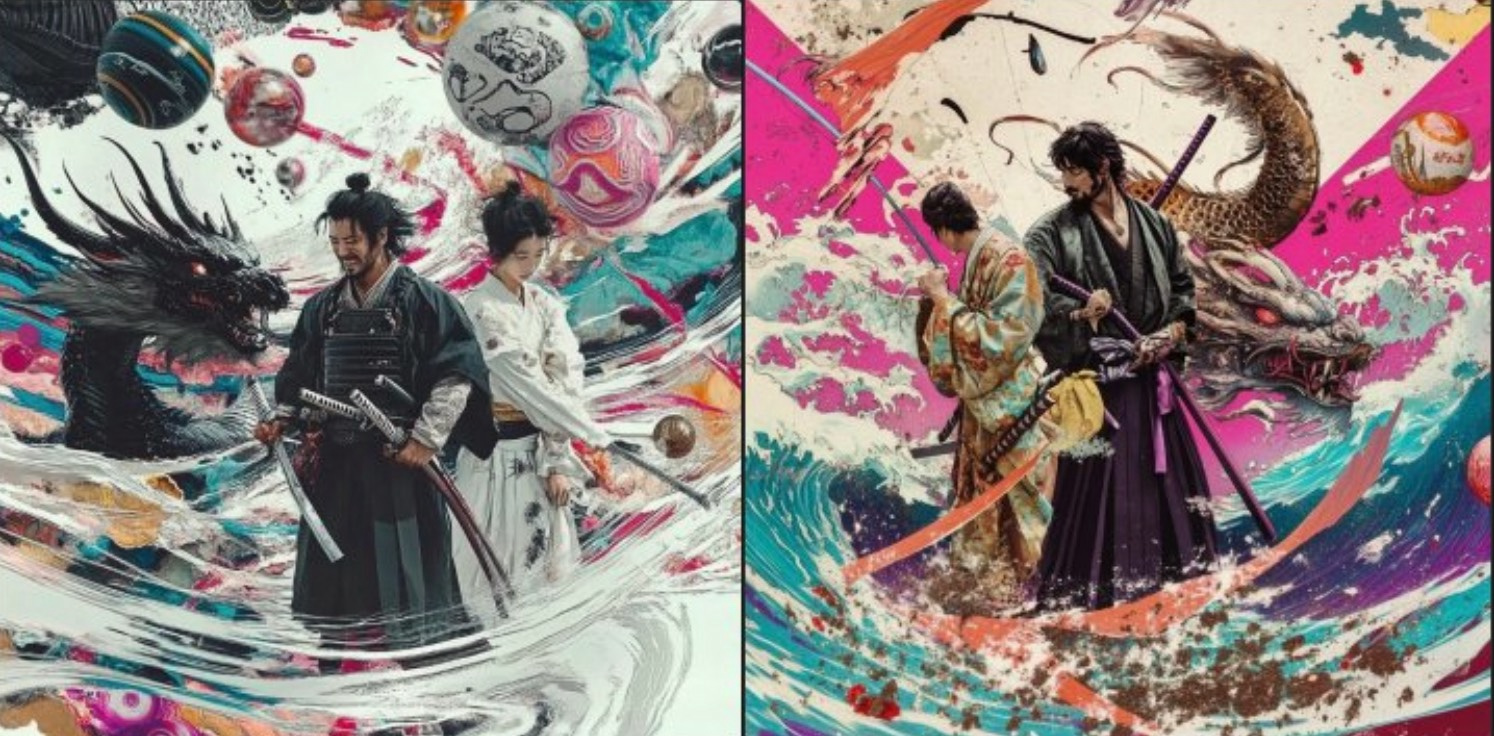
出力例
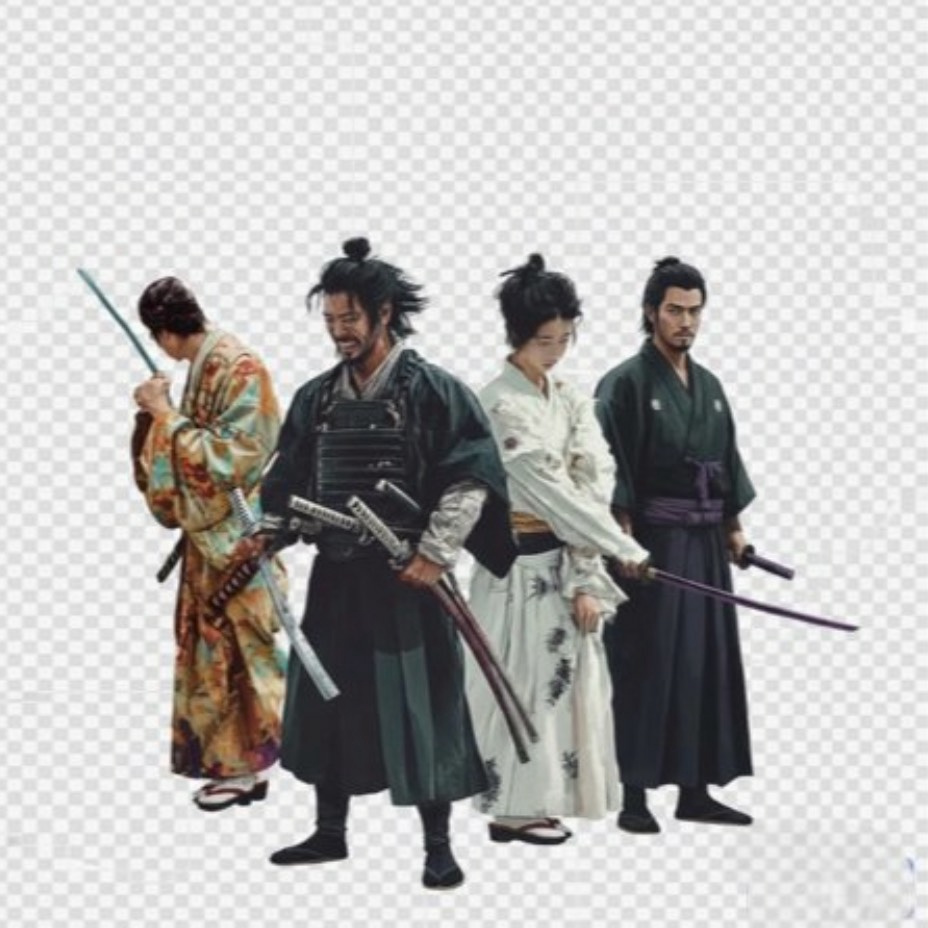
プロンプト
extract the [samurai] and put transparent background
注記:[角括弧]内のテキストを、抽出したいオブジェクトに置き換えてください。
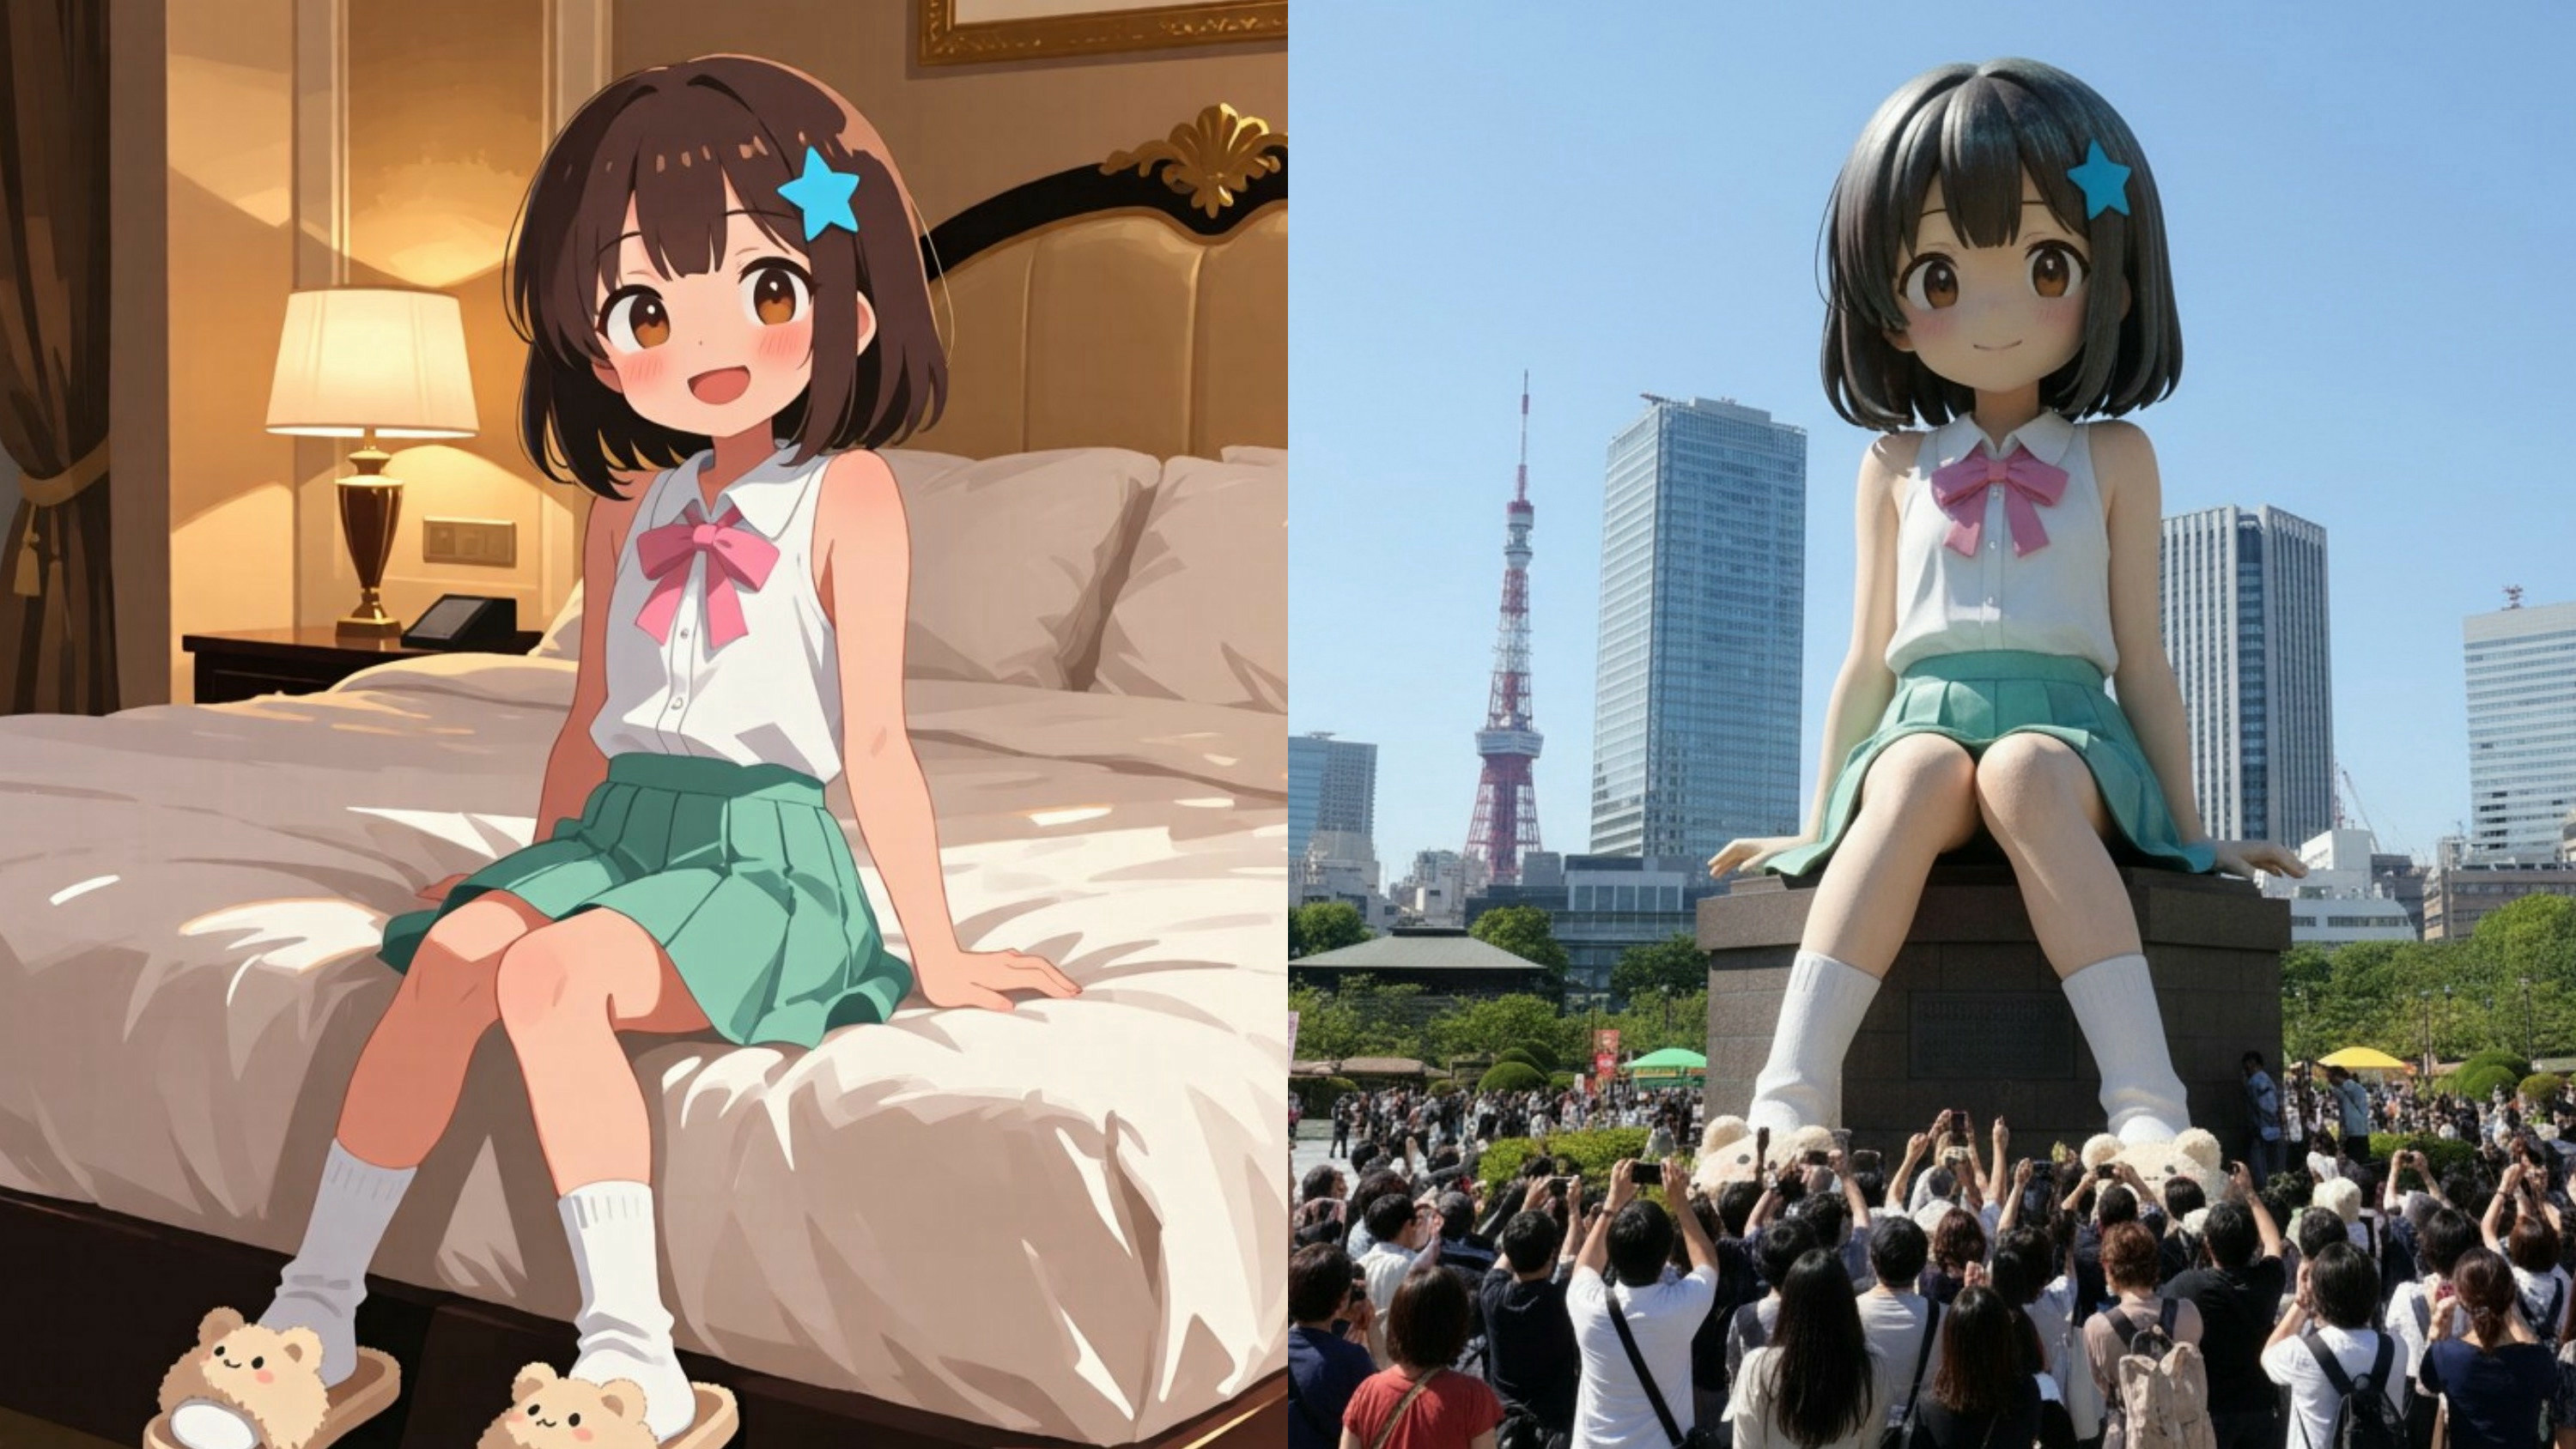
◆14:アニメの巨大フィギュアを東京のど真ん中に置く
入力例
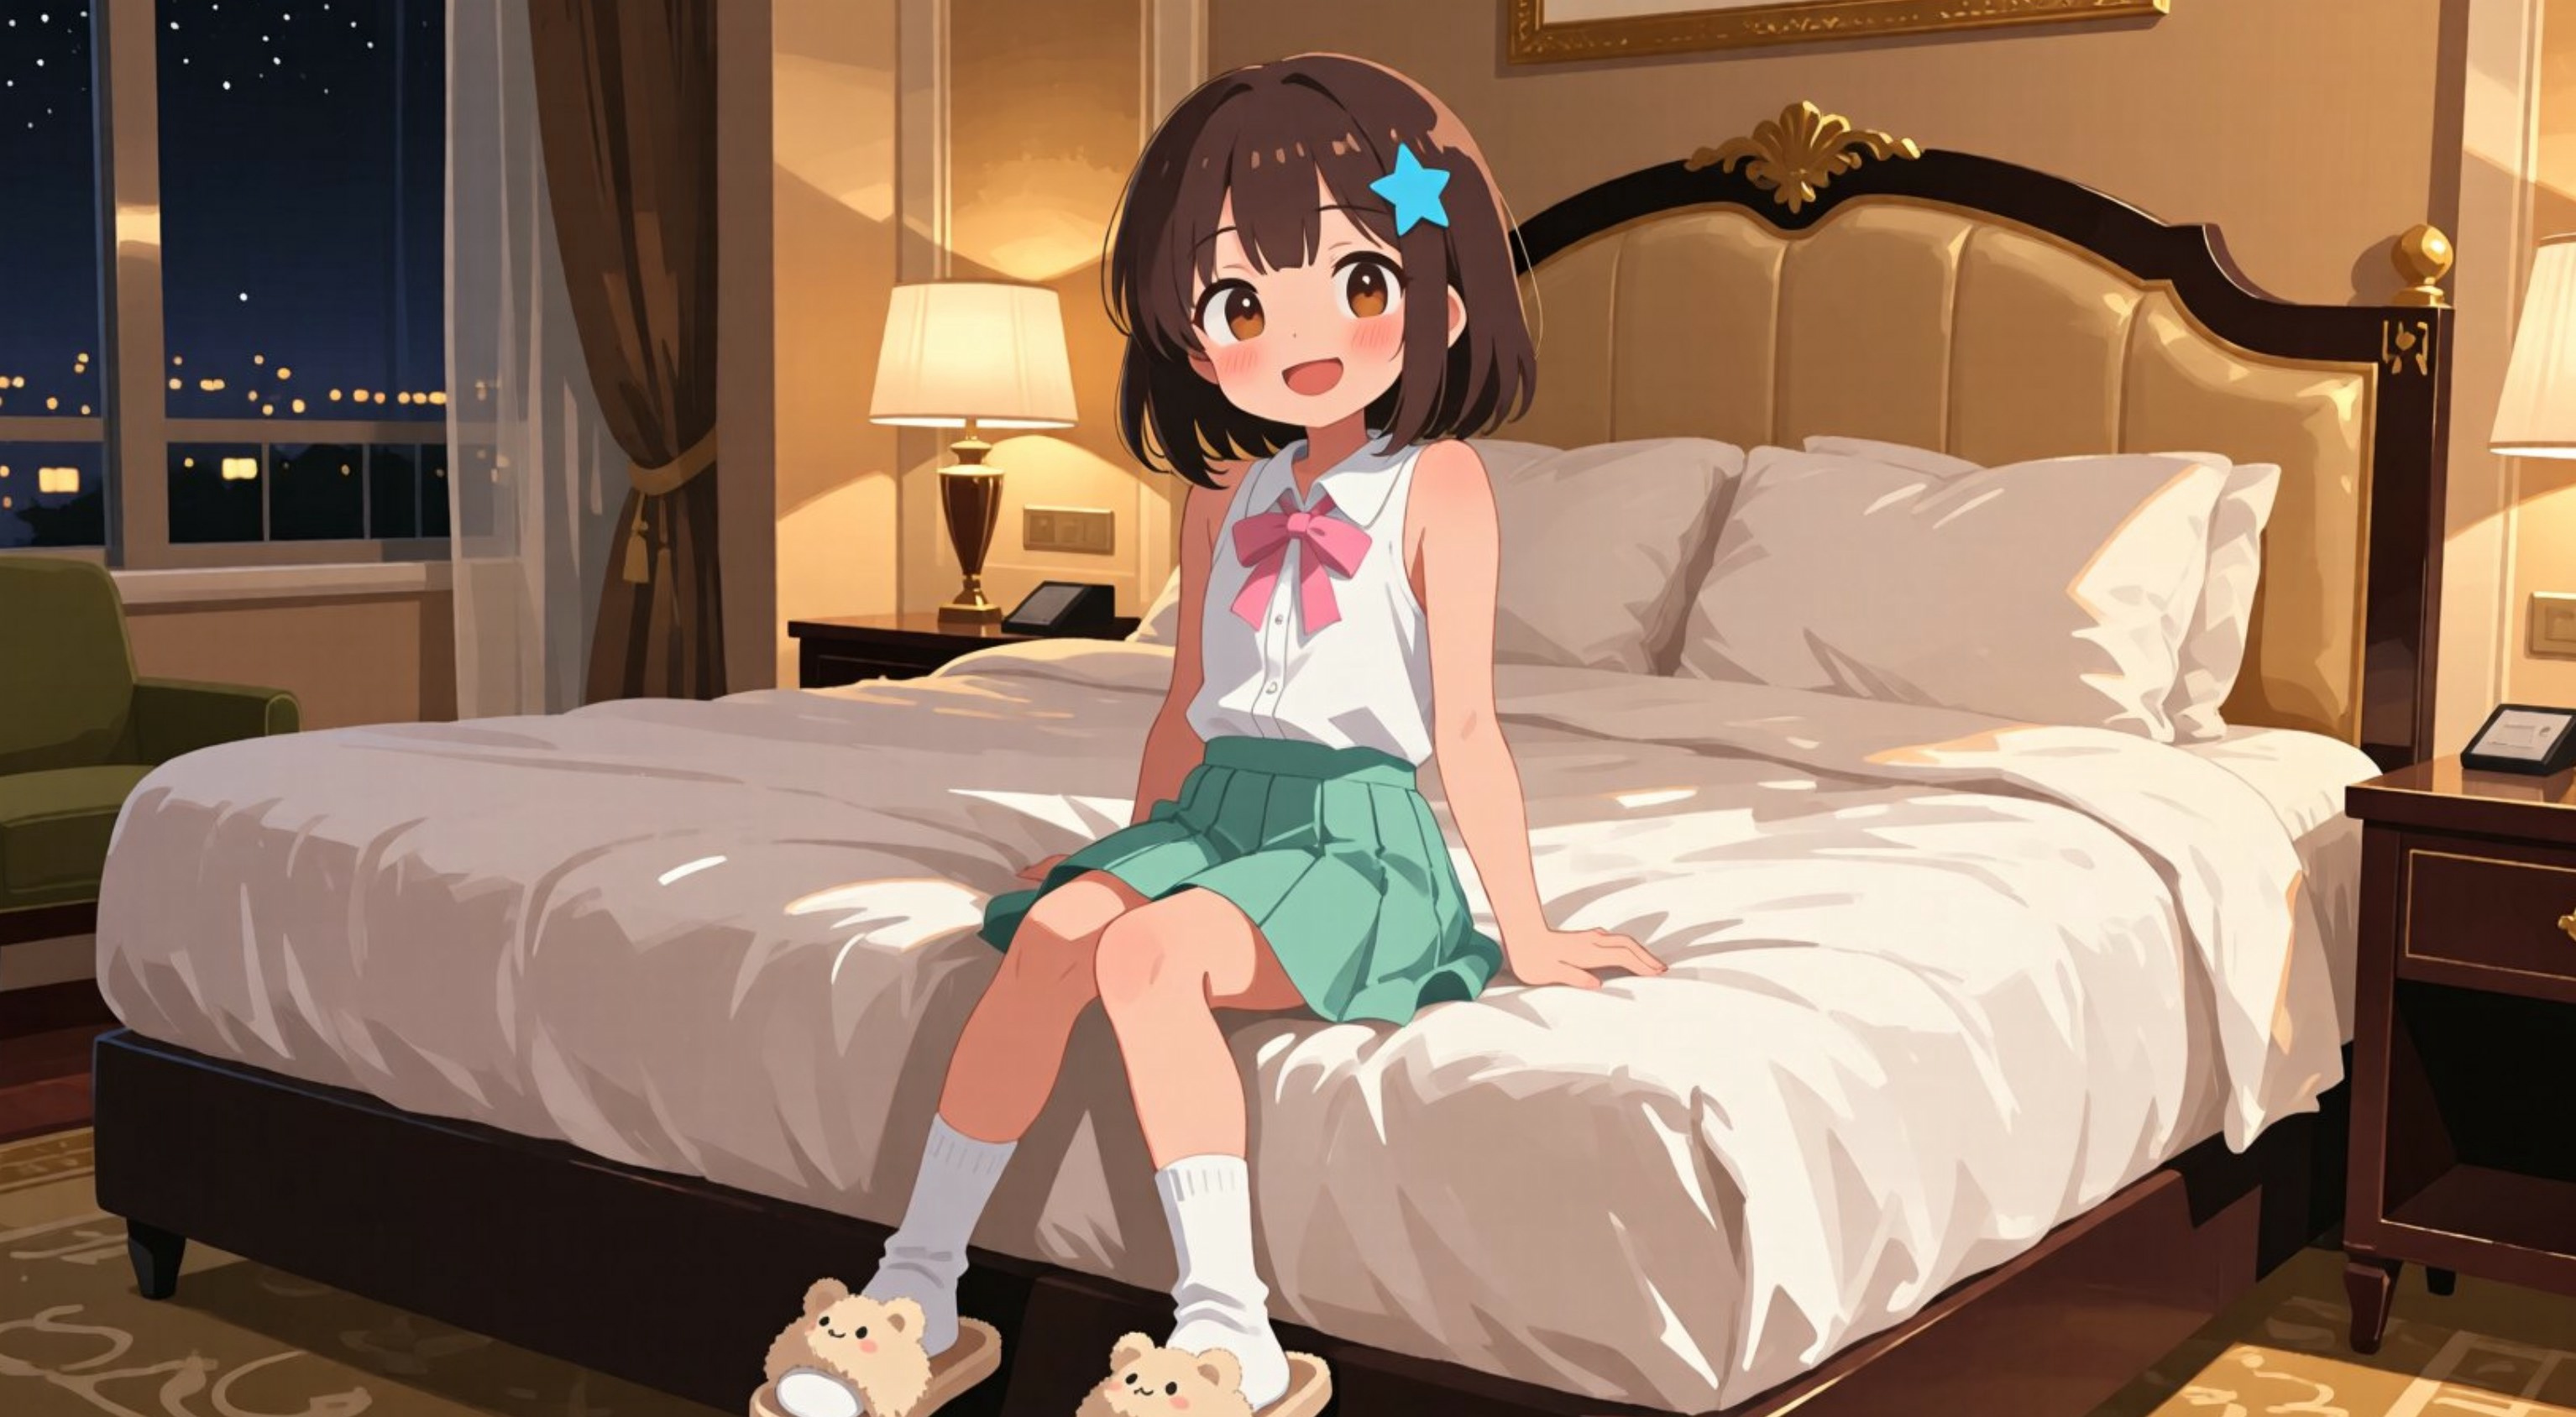
出力例
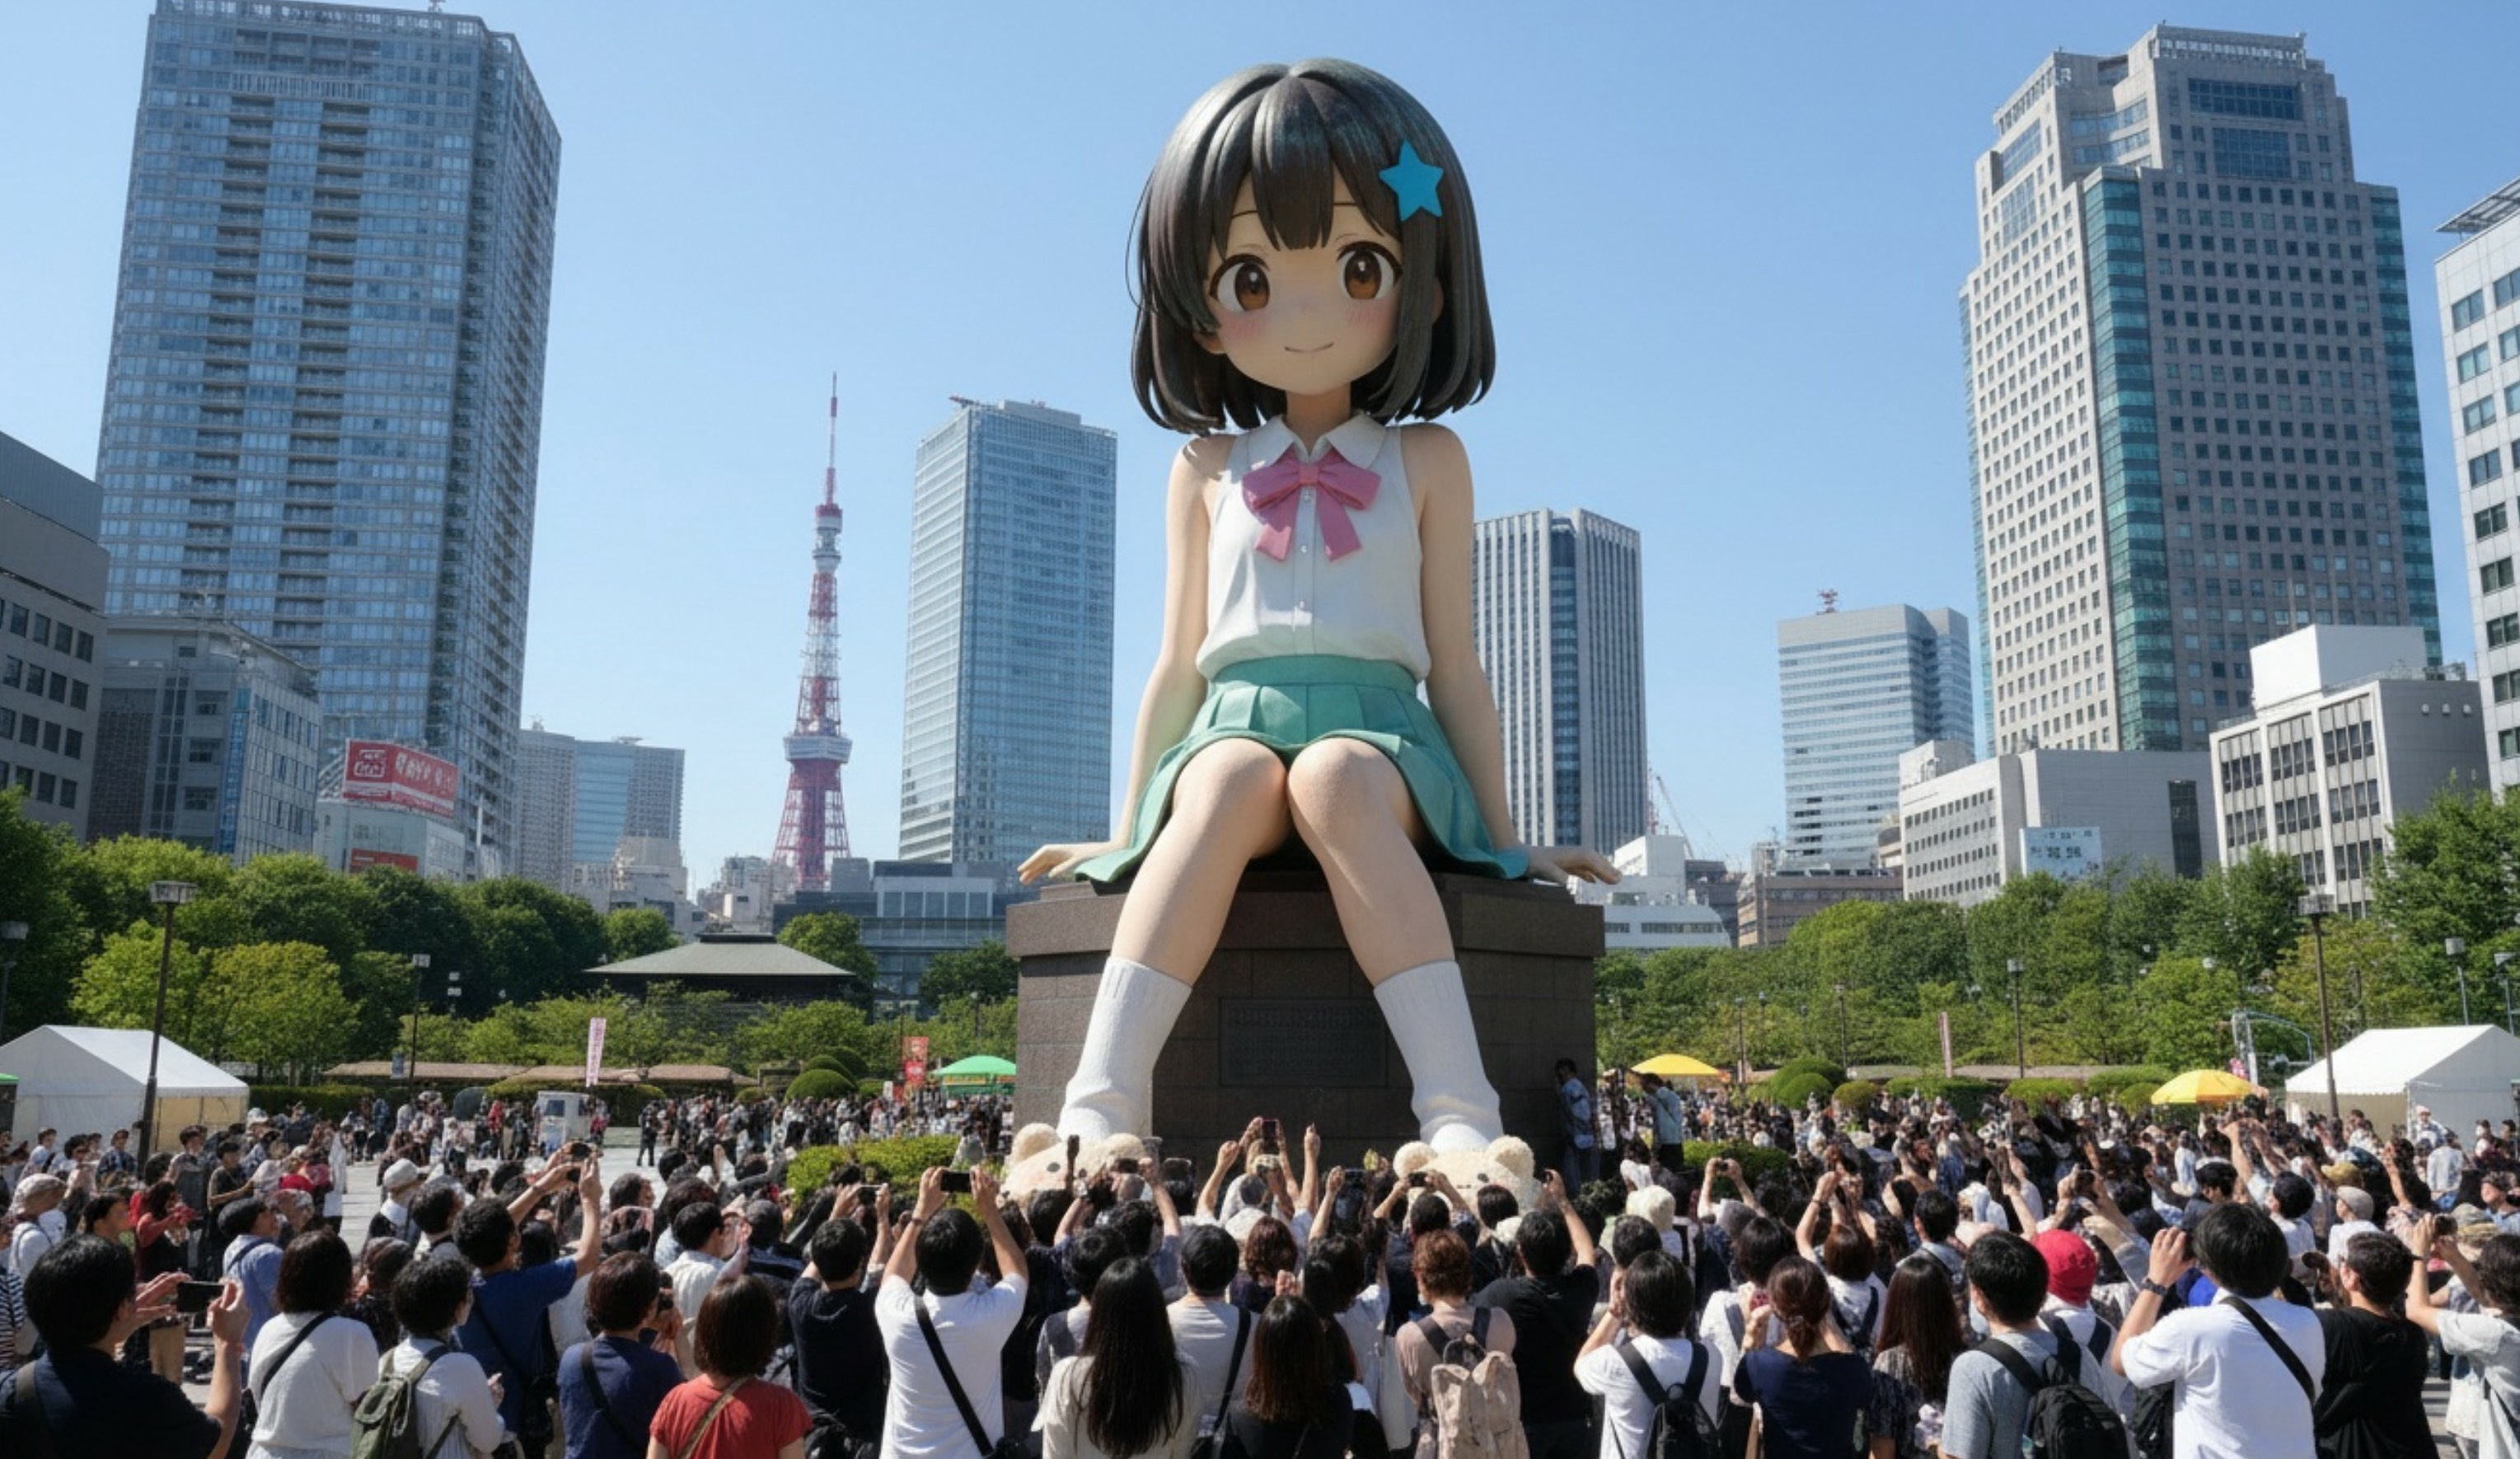
プロンプト
A realistic photographic work. A gigantic statue of this person has been placed in a square in the center of Tokyo, with people looking up at it.
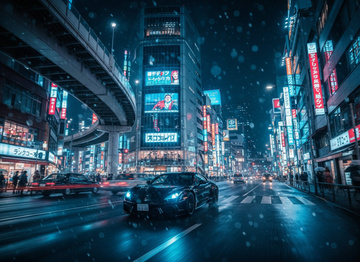
◆15:マンガスタイルへの変換
入力例
出力例
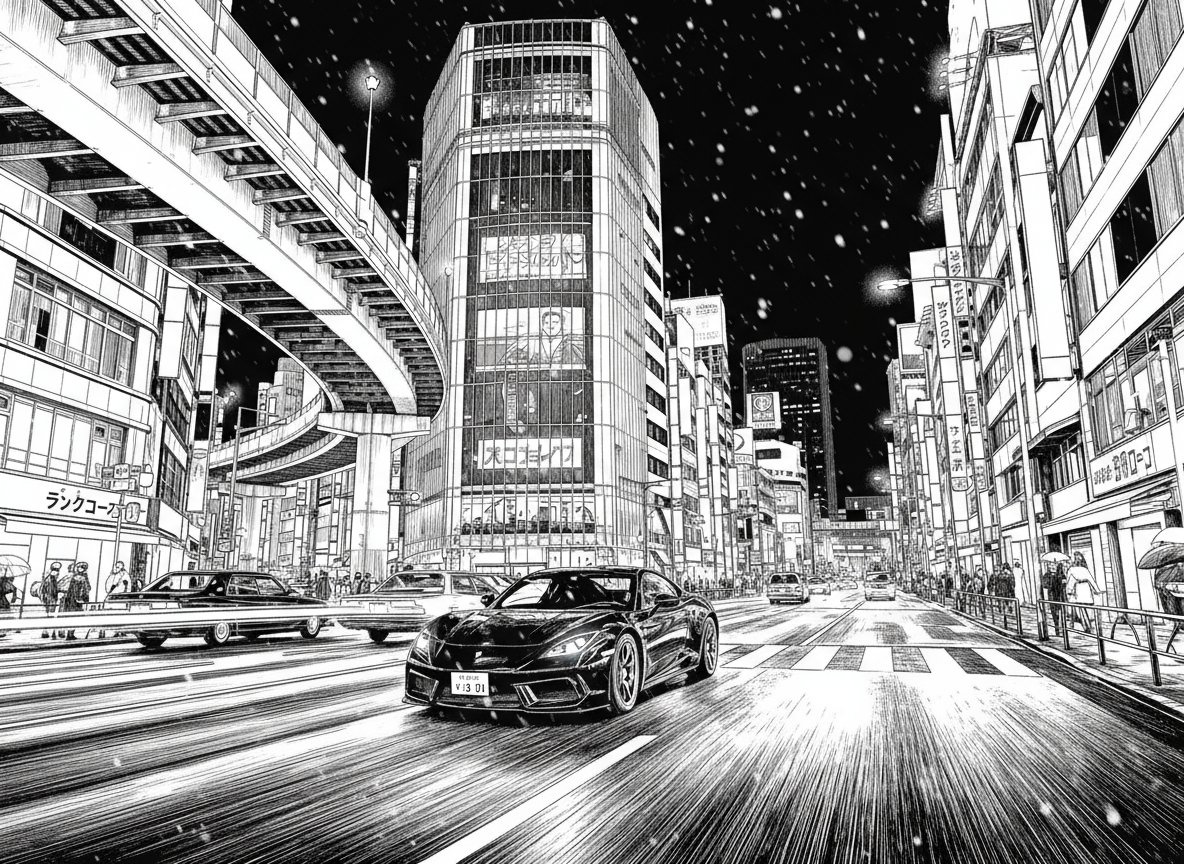
プロンプト
Convert the input photo into a black-and-white manga-style line drawing.
◆16:証明写真の作成
入力例
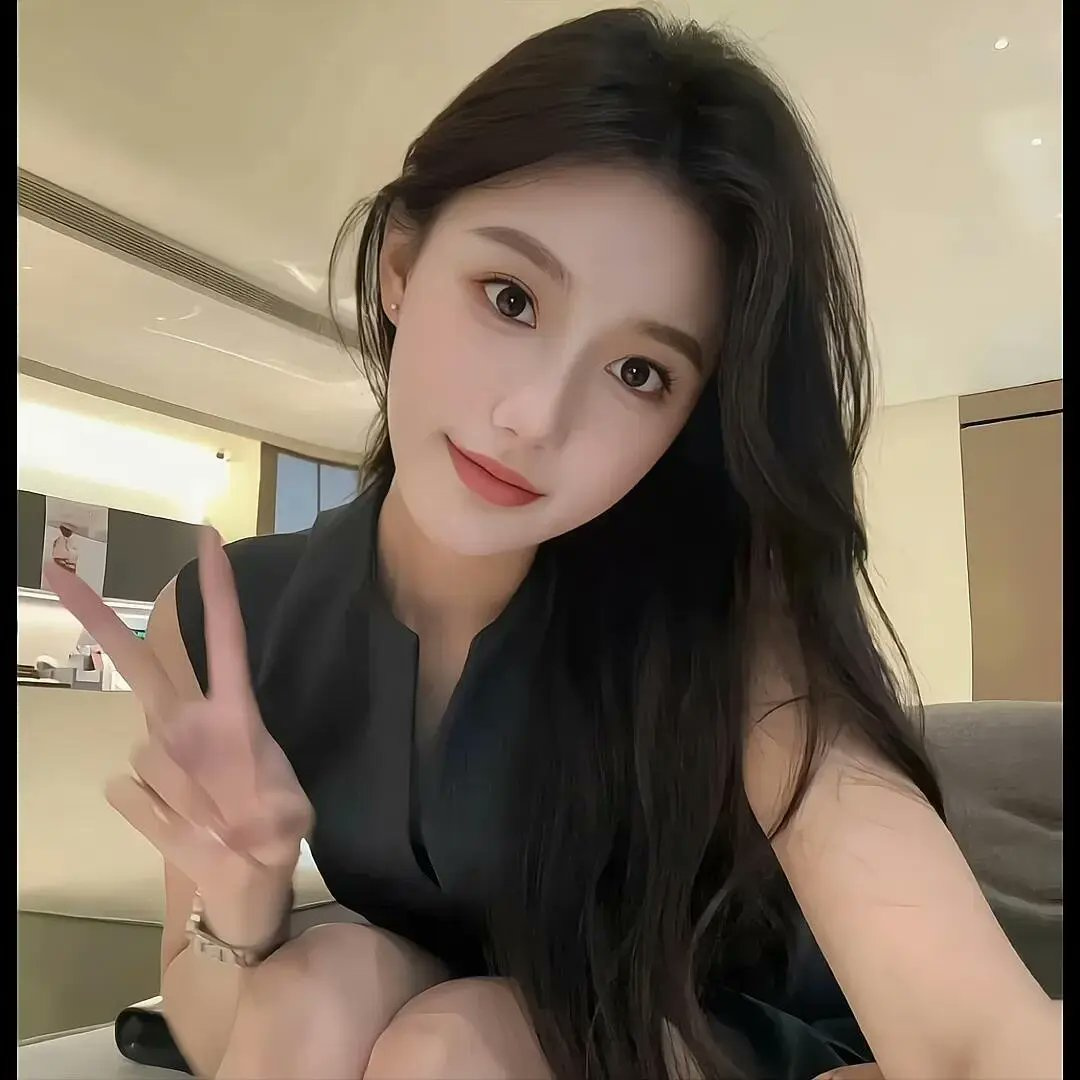
出力例
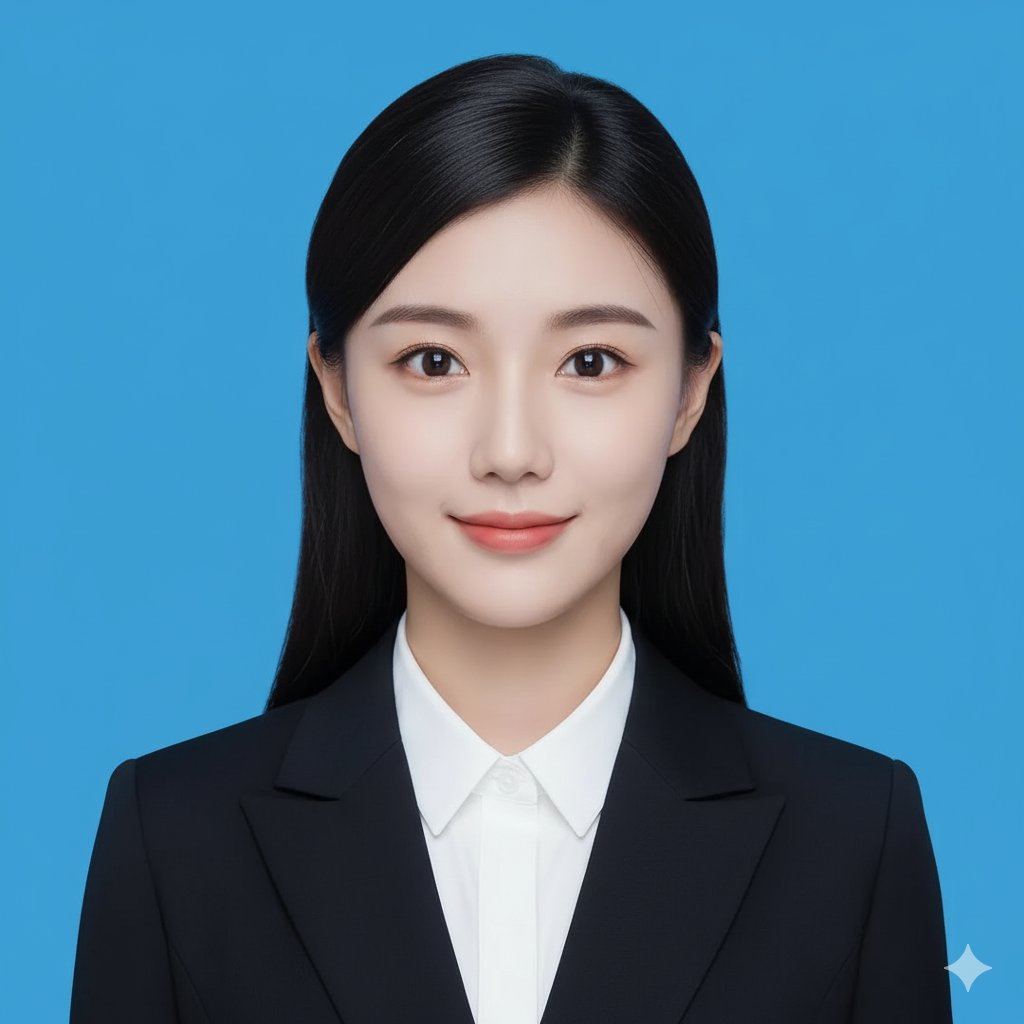
プロンプト
Crop the head and create a 2-inch ID photo with:
  1. Blue background
  2. Professional business attire
  3. Frontal face
  4. Slight smile
この記事のタイトルとURLをコピーする
ソース元はコチラ
この記事は役に立ちましたか?
もし参考になりましたら、下記のボタンで教えてください。